Fills, Gradients, and Patterns
Manually filling large areas can be tedious, so tools exist to help speed up this process. Enter fills, gradients, and patterns. If you don’t understand the settings, you can spend unneeded cleanup time. Let’s start with a basic fill tool in the toolbox and see what the options are.

Fill Tool – Take the selected area and fill it with the foreground color.

See the two circles on the left, followed by the same circles being filled with the Fill Tool. I changed the color with the color selector for the different levels of gray. I did three separate fills for the image on the right. There are a few tool options for the Fill Tool.
- Fast Mode – Ignores the selection when performing a fill. With the optimizations it provides, the fill will be done faster, with slightly less accuracy.
- Threshold – How similar does the color have to be to do the fill? Higher values will fill larger areas.
- Grow selection – Takes the base selection and expands it. This is useful for making sure line work is completely filled.
- Feathering radius – Determines how much to smoothen the edges of the selection.
- Fill entire selection – Fills everything inside a canvas. If there is no selection, fills the entire canvas.
- Limit to current layer – Only use the current layer’s pixel data to calculate where edges are.
- Use pattern – Use the selected pattern (seen in toolbar) to fill everything instead of the foreground color.

When filling line work, the Grow selection option will be useful. Don’t forget about the Use pattern checkbox. It is easy to forget that patterns also use the Fill Tool.
Creating and Using Patterns
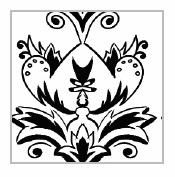
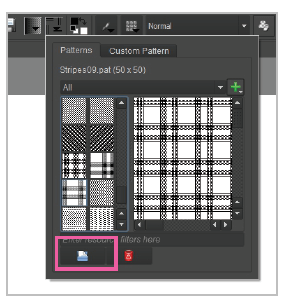
Let’s say we create a 256 px x 256 px image that we want to use as a pattern. After we have our image saved, the easiest way to load the pattern is to open up the Fill Patterns toolbar option near the top left. After the pattern is loaded, you can select it. Make sure the Use pattern option is selected on the Fill Tool, otherwise the Fill Tool will use the foreground color.

We can turn this repeatable image into a pattern.

Add your own pattern images by importing them.
One issue with the pattern editor is that you cannot scale or rotate the results. We cannot make the pattern smaller through any options. The only way is to save it as a smaller image size and import it back in again.

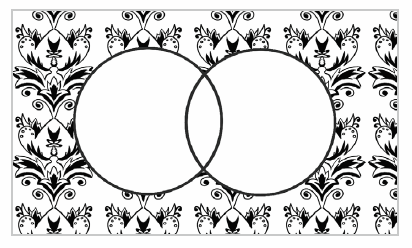
Here we have applied the pattern using the Fill Tool.
If we want to scale a pattern, there is a trick that uses layer styles. By applying a Pattern Overlay layer style, we have the option to scale. We will learn more about layer styles in the Adjustments, Filters, & Effects chapter.

