The Power of the Eraser
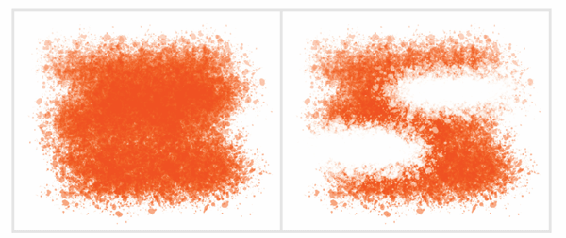
The way Krita does erasing is a bit different than other applications. While this might seem odd at first, it provides you with some excellent control. Instead of an eraser tool, there is an eraser toggle button in the toolbar. Shortcut: E.

Toggle quickly between painting and erasing.
The advantage of this toggle is that the eraser will inherit many of the brush properties. The eraser will be the same size as your current brush and will keep the same tip shape. This can make erasing feel more natural since it is a variation of your brush. If you change the size of the brush, the eraser will also change sizes. While you can change this behavior, it is nice for a default.

Toggling to erase mode will keep your brush tip the same.
When you erase an area, you are using a blending mode to do so. This blending mode, called Erase, is also available in the Layers docker. The default blending mode is Normal for a layer. You can change this via the drop-down at the top. This can serve a variety of purposes, including using it to mask out areas.
The erasing concept goes further. It can be used with many of the other tools. You can use the Gradient Tool to erase with gradients. You can erase using the shape tools like rectangles or circles. You can even erase using a pattern. There is so much flexibility with erasing, it can be painful to go back to other applications.

