Chapter 11: Layout (L)
These nodes do not change anything in the behavior of your material, but rather are helpers to find your way through a complex setup.
Frame (F)
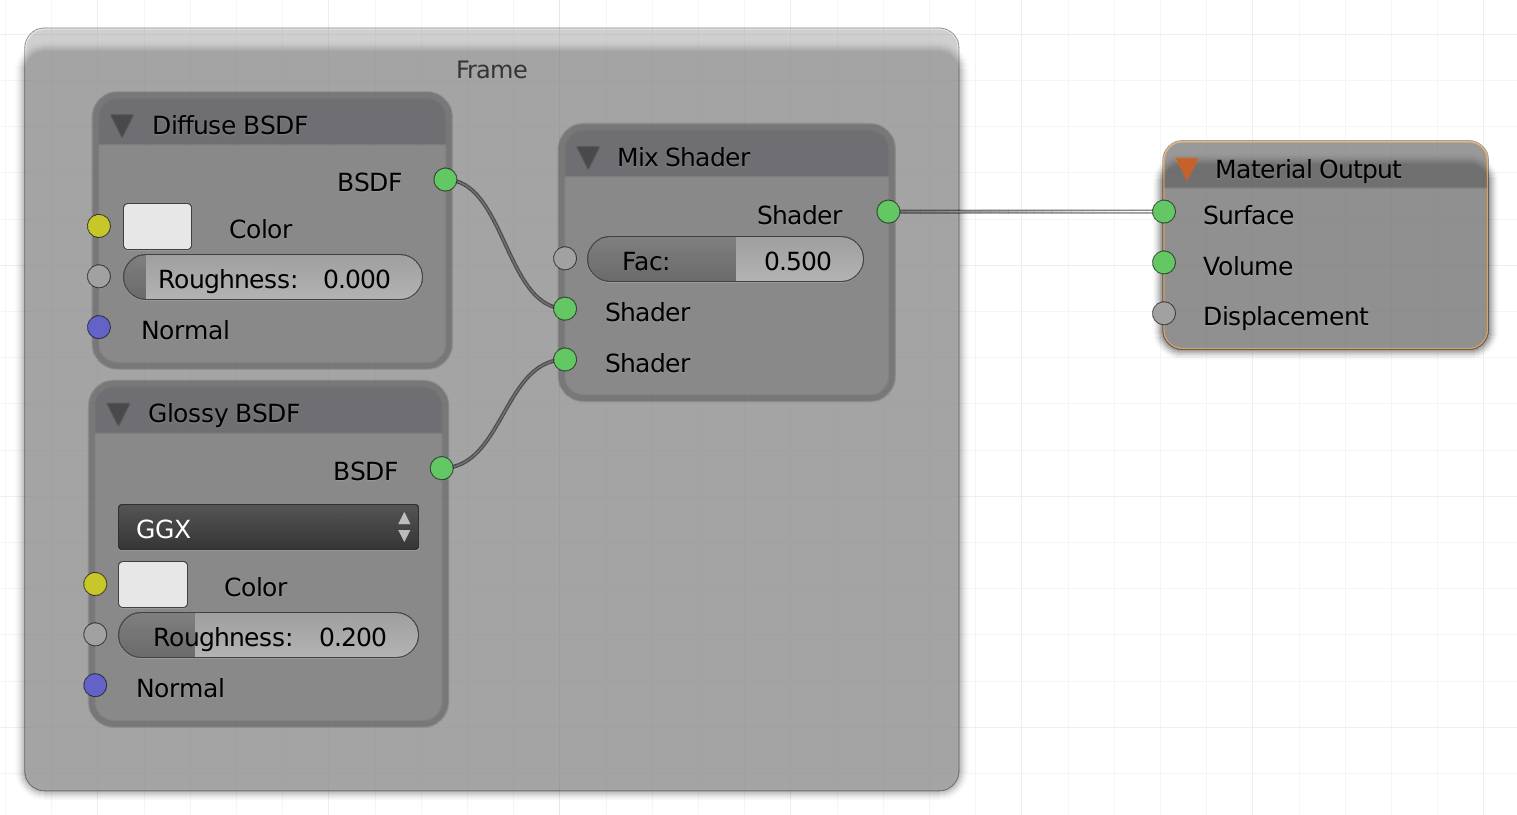
This item l ets you create a field inside the node editor to mark certain nodes or just areas. After you inserted a frame, you can change the size by hovering your mouse over the edges and then clicking and dragging.
Insert the frame and then mark as many nodes as you like using the box select (B), or SHIFT-clicking. If you then press G to grab them, you can move them inside the frame. To add existing nodes to a new frame, it is easier to press CTRL + J with those nodes selected. The nodes are now parented to the frame and it will form a bounding box around them. You can add more nodes by dragging them inside the borders of the frame. Just as child objects would, if you move the frame, the nodes inside it will follow. This is also why pressing CTRL + P will add the selected nodes to the active frame, just like parenting in the 3D view. Active means it has been selected last, indicated by an orange rim that is brighter than the one of the rest of the selected nodes.
To remove one or more nodes from the frame, select them using either SHIFT + click, box select (B) or select painting (C) and then hit your favorite choice between ALT + P and ALT + F, they both remove the selected nodes from the frame, allowing you to place them wherever you want.
If you open the properties menu (N), you can label the frame and give it a custom color.
You can also change some of its properties.
Color
To change the background color of a frame, you need to check this box first. Then click on the color field and use the color picker to select your color of choice. Using the + button, you can store the color as a preset, so you can give a frame on a different node tree the exact same color. The - button will delete the last chosen color preset. If you use the down facing triangle, you can assign the current color to all selected nodes.
Hint: Hovering over a color field and pressing CTRL + C will copy the color to the clipboard. Hovering over another color field and pressing CTRL + V pastes the color there.
Recently you can even drag and drop colors from one field to another.
Label Size :
The size of the headline for the frame. Maximum value is 64. This value is absolute, so it will not depend on the zoom factor of the node view.
Shrink :
If you check this option, the frame will shrink automatically if you move the nodes it contains closer together. This is usually a good thing, so it is on by default. It will not keep the frame from auto-expanding when you move nodes towards the rim.
Text:
Allows you to chose a text datablock from within Blender to be shown inside the frame. You cannot type a text directly in there. Instead, it lets you select text that have been created in Blender’s text editor from a drop-down menu.
Reroute (R)
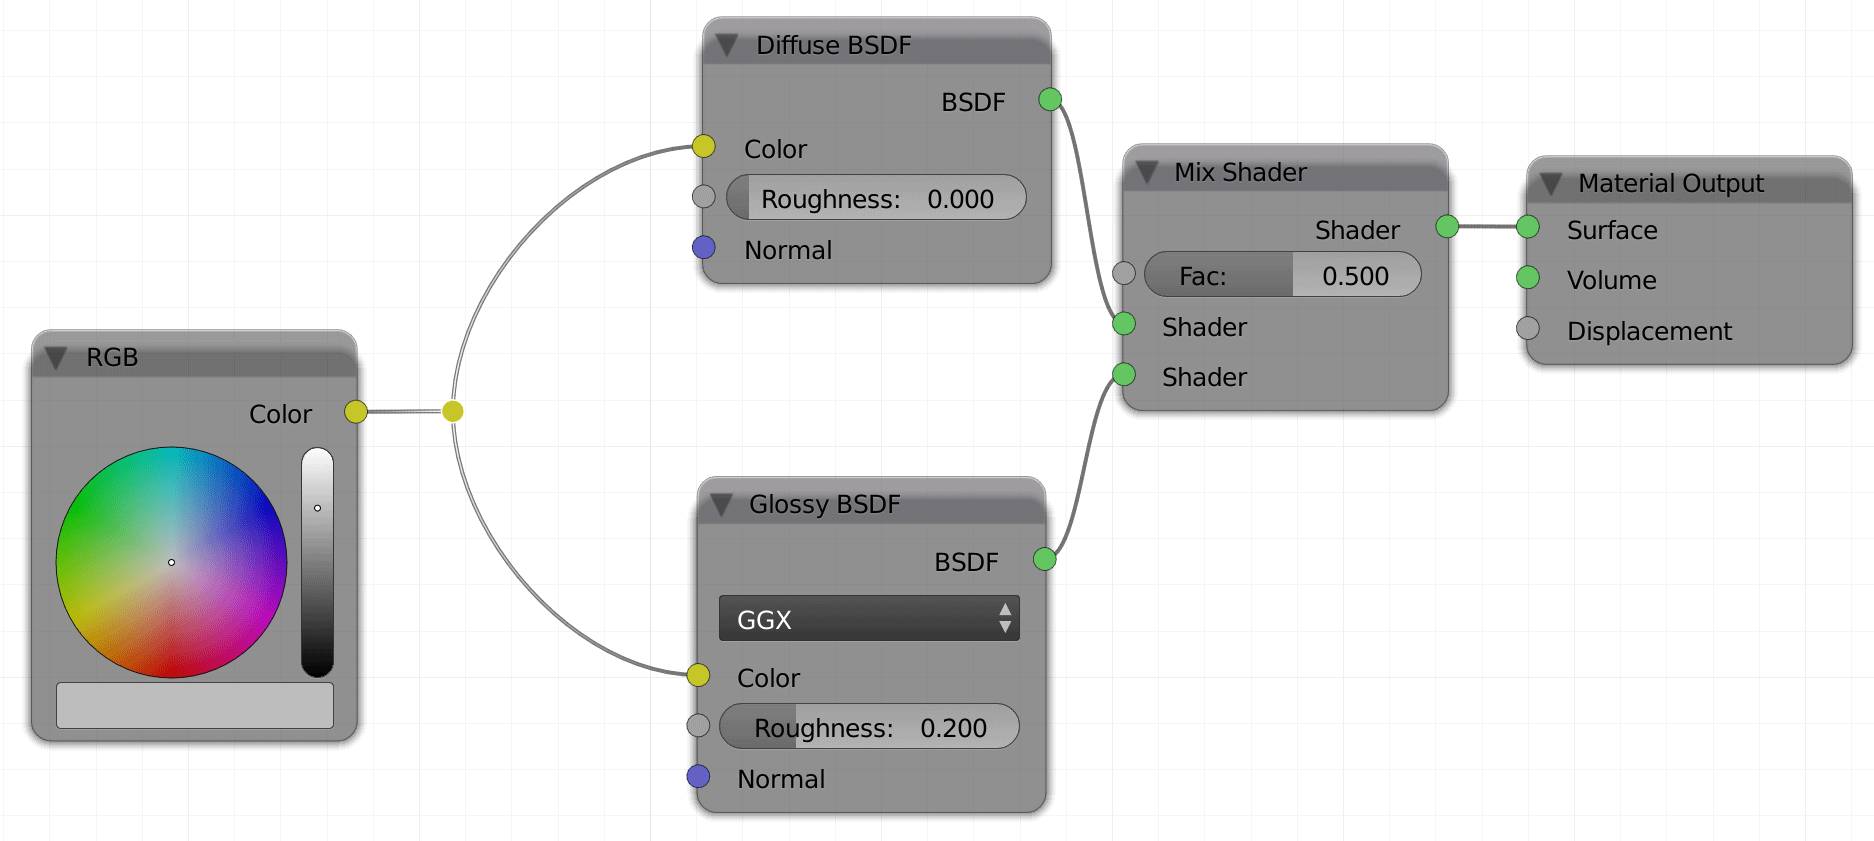
If you chose this option from the list, a small dot appears at your cursor. You can drag this dot onto any connection between two nodes (noodle). It will create a level junction at the position you dragged it to, allowing one input and as many outputs as you like, all of the same type and value of the output it is connected to. You can also hold down SHIFT and drag over any noodle to add a reroute. This is commonly used to make things more tidy and organized, since it can look pretty weird, when five threads exit the same node output and then go off into different directions. Think of this as a reroute around densely populated areas.

