Now you need to mount the rest of the parts onto the Quadcopter frame. You will need the Flight Controller, Receiver, and potentially a BEC.
Step One: The first step is to mount the flight controller. Look for a spot on your frame that is designed specifically for your flight controller. Use nylon screws to mount it to the frame or anything that won’t put too much tension on the flight controller. It’s important that you cushion or provide support to the flight controller. If there is too much tension on the controller and you crash, it could crack in half. Side Note: You can use zip ties to secure most anything on your Quadcopter frame. They’re easy, strong, and cheap.
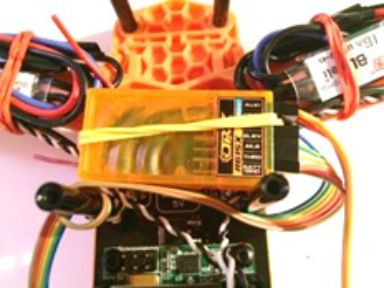
Step Two: Next, you can mount the Receiver. Just look for any open place on your frame that you can secure the receiver and have the antenna out in the open. Make sure it’s in a good spot for the antenna to communicate with your transmitter.
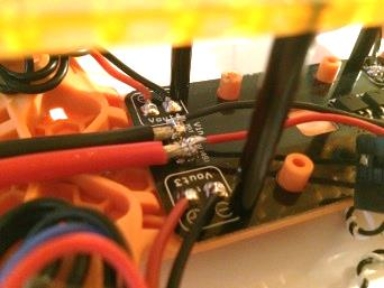
Step Three: The last thing you need to think about is how you’re going to power your flight controller and transmitter. If your ESC signal wire has three little wires twirled together that come to a plug, then you have individual BEC’s in each ESC. This means that you can use one or all of your ESC’s to power the flight controller and receiver. You don’t have to worry about anything.
However, if you don’t have three wires, but instead have two little wires twirled together that come to a plug, then you need a separate BEC (Battery Eliminator Circuit, shown below) to power the Flight Controller. The BEC is a regulator that switches the voltage coming off the battery from 11.1v (or whatever voltage your battery is) to 5v. This will safely power your flight controller and receiver.
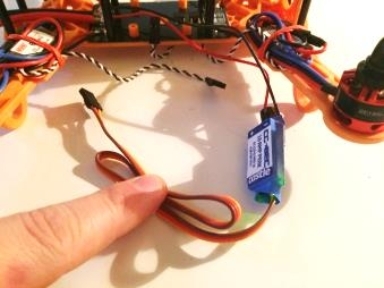
All you have to do is solder the BEC to your PDB and then plug it into your receiver. I soldered it right onto female battery plug (as you can see to the right). This provides power to the receiver. Then the wires from the receiver to the flight controller provide power to the flight controller.