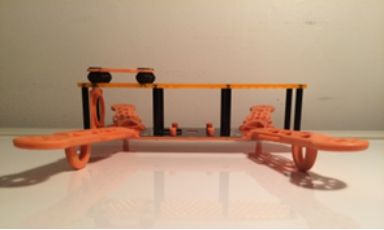
Step One: Once you have acquired all of the necessary parts, the first step is to assemble the frame, if needed. Some frames come ready-to-go while others require some assembly. The frame I ordered is a 250 class FPV Racer, and I had to connect the bottom frame to the top with some screws, it only took about 30 minutes to complete.
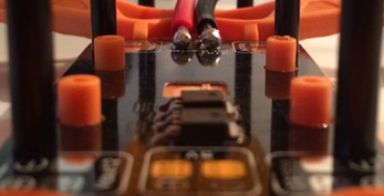
One thing to be aware of is the power distribution board (PDB). If the PDB is easily accessible when attached to your frame, then go ahead and attach it. But, if you can’t use a soldering gun on the PDB when it is attached to the frame, you need to solder the PDB board before it is placed on the frame. Skip to the next part on soldering the PDB. Then once it is soldered, come back here and follow the next step.
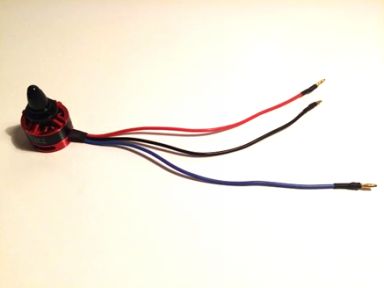
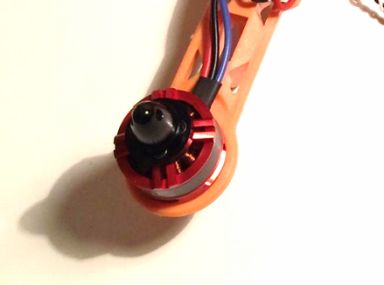
Step Two: The next part is to attach the four motors to the frame. Look at the motors first and see if there is any assembly needed. All I had to do was screw one bracket on each motor. Then I was able to secure the motors to the frame with screws that were provided. Side Note: The four motors and ESC’s were a package deal for ~$80. They also came with a few extra screws.