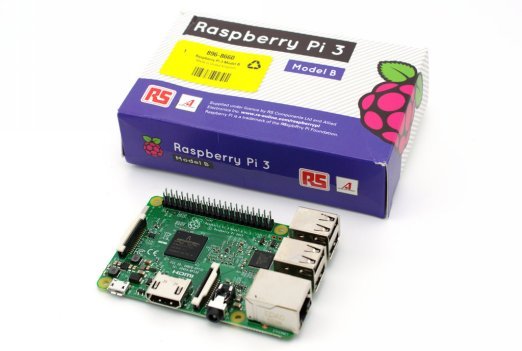
Now that you’ve purchased your Pi and have it all ready to go, it’s time to figure out what kind of project you want to undertake with it. If this is your first time working with a Pi or building electronics, looking through what comes up for “Pi projects” online can be a bit intimidating, requiring either skills or equipment that you don’t yet possess.
The projects included here are good ones to start with for first-time owners of the Pi. Making them will give you an introduction to how the Pi works and the general process of using it, which will give you a foundation of knowledge for later projects. They are also very fun or useful projects, enough so you may find yourself buying multiple Pis so you can make more than one.
The maker community thrives on innovation and invention. People are constantly coming up with new ways to employ the Raspberry Pi in helpful and fun ways. If you can think of a way you might be able to use the little computer in a project, someone has probably come up with a way to do so.
As you navigate to the sites where you can download the instructions and supplies to complete these products, keep your eyes open for other projects in the sidebars of the sites that might be of interest to you. Many of these tech-oriented blogs and instruction sites have a lot of different project explanations available for free.
Mini laptop
The Pi board is a small computer, so it’s no surprise that you can use it to build your own equally tiny full laptop completely from scratch, for a fraction of the cost of buying your own computer in stores. You can even hook it up to external devices like speakers, headphones, and printers, through both wired and wireless connections
You can find instructions on how to turn your Pi into a laptop on the website Adafruit, which is also a great resource for a whole host of different Pi hardware, software, and advice. Look up “Libretto Raspberry Pi” and you’ll find written instructions along with a step-by-step video to guide you through the process. This particular version uses a wireless keyboard and a touchscreen interface to give you full functionality and control.
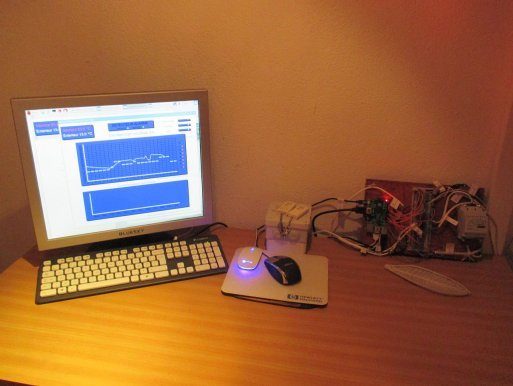
Keep in mind that while a Pi is a functional computer, it’s also a very small one and doesn’t have a lot of processing power. You won’t be able to run advanced, graphics-heavy programs. You will be able to do basic things, though, like word processing or browsing the web. It can also be useful as a printing monitor, or to oversee things like household webcams.
Smart printer
You can turn any printer into a smart printer using a Raspberry Pi. Installing the software you’ll need to do so is simple, though the configuration you need to do to get it to communicate effectively with your network can take a bit more fiddling. Still, the process will be well worth the time invested, since it will let you upgrade an old printer to modern standards rather than paying hundreds of dollars for a newer model.
The website Pi My Life Up is an excellent resource for finding new exciting projects that you can play around with. They have a comprehensive write-up of everything you’ll need to do to make this project work for your network and devices at and it’s written to be accessible and understandable regardless of your level of experience.
You won’t need any extra supplies for this project besides the ones you’ll need for any using the Pi: an SD card, an Ethernet cord or WiFi dongle, and a power cord. You don’t even need a mouse or keyboard if you’re comfortable controlling the device using SSH.
The software you’ll be using is called CUPS, which stands for Common Unix Printing System, the basis of most Linux printing software. You can double check that your particular printer is supported by the software by going to and checking for your model number. Once your system is all set up, you’ll be able to use multiple computers on the network to print without running it through a central desktop.
DIY Echo
The Amazon Echo is an incredibly useful gadget for your home, letting you access Alexa, Amazon’s voice controlled personal assistant software. Using a Raspberry Pi, you can make your own Echo, giving you the same access to all of Alexa’s features, including skills and smart home controls.
People have been making their own Echos with a Raspberry Pi for years, but only recently Amazon made it an even better proposition by unlocking the ability to use a wake word with a Pi-based Alexa device, just like you can on an official Echo.
Amazon has completely embraced the idea of DIY-ers making their own Alexa-compatible devices. There is even an official Amazon GitHub page which explains how to build a Pi-powered Echo (). The best thing about making your own Echo is that you can completely customize its appearance so that it fits better with your home design than the standard black cylinder. To make it a full Echo with playback, just attach your favorite speakers, too.
Ethernet gadget
This is another one you can find on Adafruit. It’s a powerful application of the Pi computer, expanding your log-in and network options. Once it’s set up, your Pi will appear as though it is an Ethernet device to other computers in your network, and you will be able to load web pages on your Pi through the connection.
The instructions are designed to work on a Pi Zero, meaning it requires no USB hook-up and can be incredibly small and portable. There are two things you should know before you embark on this project. First, you’ll need to install a custom operating system, either Jessie Lite or Jessie Raspbian. Second, you’ll need to specially configure the files on the SD card before installing the card into the Pi. This is not as complicated as it sounds; the Adafruit instructions will walk you through step by step.
Internet photo frame
Digital photo frames have been around for a couple of decades now, but you always had to plug in a USB drive or otherwise manually load your images onto them. By using a Raspberry Pi to control the picture frame, you can take images straight from the internet, either from a services like Prime Photos or a website like Flickr with equal ease.
The Pi user Beaconsfield has come up with Instructable for this project (). All you’ll need aside from the Pi is a WiFi dongle or Ethernet cord to connect your frame to the internet, a power source, some kind of small monitor with an HDMI hook-up, and a spare picture frame. To make things easier, you could re-purpose many existing digital picture frames, bringing new life to an old gadget.
Portable storage (and WiFi hotspot)
You can share videos, music, pictures, and other files with your friends by sending them from another device, but if the memory on your phone or laptop is a precious commodity, these large, space-hogging files can be a problem. You can instead use a Pi with a mounted storage drive to let you and your friends easily access them. You could also use it to set up a digital version of a free library for your neighborhood, or to distribute materials at a conference or networking event—any time you want to give strangers access to certain files without letting them all log in to your personal computer.
If the files you’ll be sharing are ebooks, documents, or other files small enough for you to store them directly on the SD card, you can use any size of Pi that you want for this project. If you’ll need to connect the drive via USB, you’ll probably find it best to use a full-size Pi 3.
The other supplies that you’ll need are a WiFi module (typically USB) and an OTG adapter. A case is optional, but if you’ll be traveling with the drive, you’ll probably want one to prevent damage. Start the project the same way you would for the Ethernet Gadget above, then connect to your Pi using SSH.
There are a few different websites that list instructions for creating this kind of WiFi accessible storage system. One of the simplest again comes from the website Adafruit. Look up their project for a “Digital Free Library.” You can either make that project as is or tweak it to suit your own needs. Once you’ve worked through all the steps, you’ll basically have a portable storage device that can be accessed by anyone, anywhere there’s WiFi.

