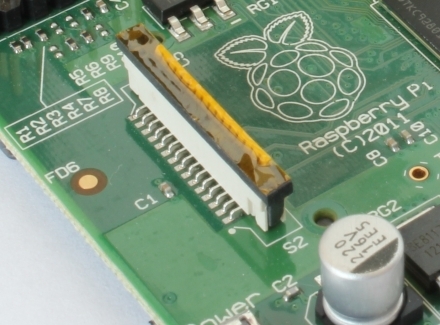
The Raspberry Pi is nothing more than a collection of circuits and electronics straight out of the box. Before you can do anything with the computer, you’ll need to install an operating system and configure your settings, like your WiFi and Bluetooth connections.
The good news is that the set-up process for a Raspberry Pi has been improved over the generations of the device that have come out since its initial release. With the Pi 3, Model A+, and Pi Zero, completing the set-up process can take less than 30 minutes.
The main thing that most people find tricky about the initial set-up of their Pi is the fact that the steps have to be completed in a certain order if they’re to be successful. Once you learn the correct sequence, however, you’ll be able to set up any Pi you purchase in the future using the same steps outlined below.
Load the SD card
There are a variety of different operating systems that you can install and use on a Raspberry Pi, each of which will have its own specific uses, benefits, and limitations. For the majority of projects, you’ll want to use one of the operating systems included in the NOOBs program you can download from the Pi Foundation website.
NOOBs stands for “New Out Of Box Software,” and is a collection of five operating systems that can be used on the Raspberry Pi. Some of these are arguably more useful than others; you can check out the next chapter for a more detailed explanation of your options. The great thing about NOOBs is that you don’t need any knowledge of command lines to load the operating system on the cards, or to install them as the system on the Pi.

You will need to download the NOOBs program onto another computer and transfer it to your SD card from there. When you download it, choose the “offline and network install” option, then extract the ZIP file and copy the folder’s entire contents to the SD card. Once this step is completed, you can eject the SD card from your computer and put it into your Pi.
If you don’t have an SD reader (or if you’d simply rather not worry about downloading the program) you can also purchase an SD card that’s formatted for a Pi and pre-loaded with NOOBs. The best place to get these is the website Adafruit, which offers them for around $12 a card.
Hook up devices
As with the overall set-up, the order in which you connect outside devices to the Pi is important to make sure that it functions correctly once you turn it on. First, connect the HDMI cable to both the Pi and the monitor. Next, connect your USB devices. If you’re using a router with an Ethernet cable for the internet, plug that in next.
The very last thing you should connect is the power adapter. There is no power switch on a Raspberry Pi. Once it’s plugged in it will power on, which is why it’s important to make sure everything else is connected before you give the device power.

Install operating systems
Now that you have your Pi connected and powered, it will be a functional computer, but you won’t be able to use it to do anything until it also has an operating system installed. If you’re installing one of the NOOBs operating systems, you can follow the same basic procedure to install any or all of them.
It will take a couple of extra minutes for your system to boot up the first time you turn it on, while the system formats the SD card and sets up all the necessary files. Eventually you will see a screen pop up asking you to install an operating system. Choose your language and keyboard layout from the options at the bottom right, then click the checkbox next to the operating system (or systems) that you want, and click install.
Installation of the operating system will probably take between ten and twenty minutes, depending on which and how many operating systems you’re installing. Once it’s done, it will automatically send you to the desktop for your chosen operating system so you can move forward with the next step.
Configure WiFi and Bluetooth
For your final step of the set-up process, you need to make sure the Raspberry Pi can communicate with your network and other devices. Start by clicking on the “network” icon (the one that looks like two computers, in the top right corner). Select your network and enter your password like you would on any other device.

For Bluetooth devices, you’ll need to pair them individually with your Pi. Click the Bluetooth icon in the upper right corner, then click “Add Device” and find the one you want to pair. The process from here will vary slightly depending on the device, but it will walk you through it with on-screen directions, that are typically very straight-forward.

