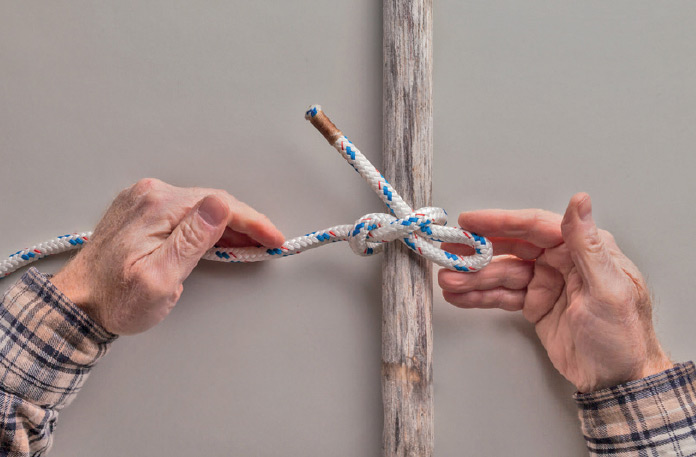
Part Two
Foundation Knots
Most knots, bends, and hitches incorporate simpler structures which are themselves knots. The knots in this section are all easy to learn and tie. Some of them are useful in their own right, while all of them are important as components of more complex knots or for understanding basic procedures or principles that come into play when tying them.

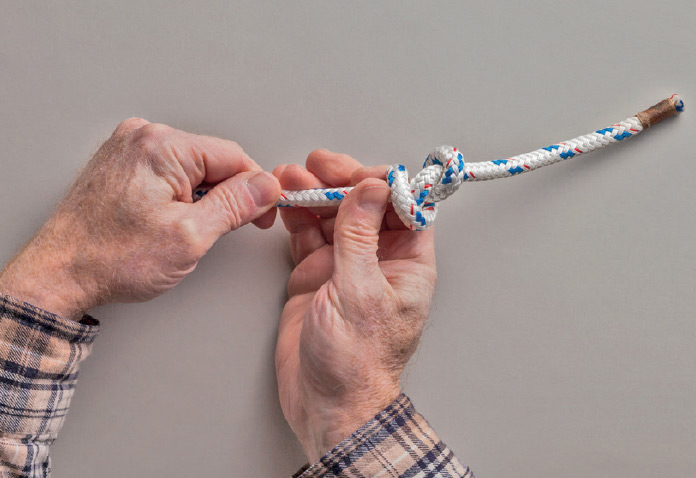
1.
Uses: stopper, binding, hand grips, to prevent fraying
Pros: quick, easy; forms the basis of many other knots
Cons: difficult to untie; not secure

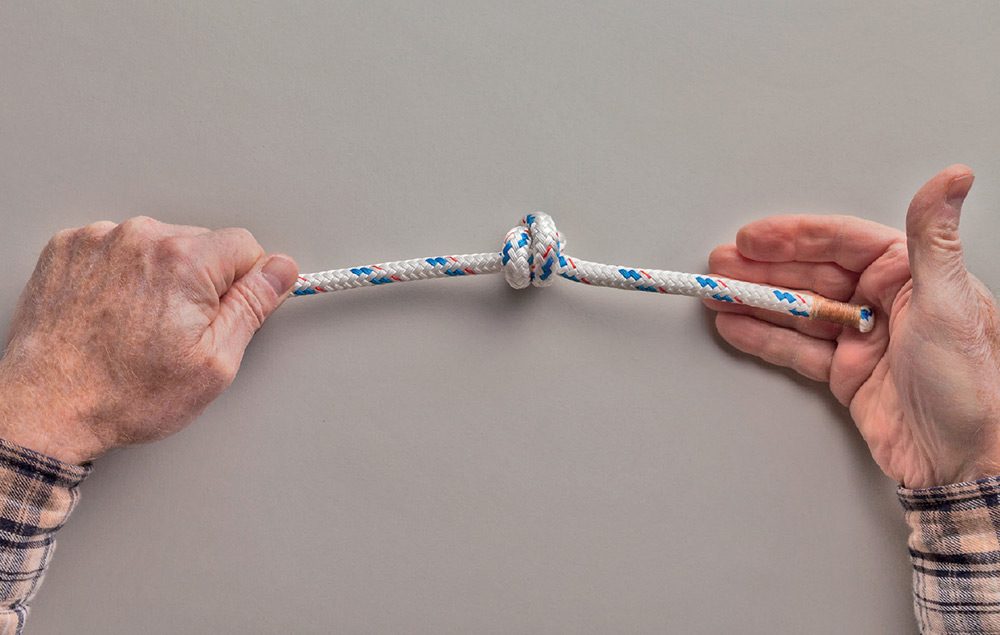
2.
Uses: stopper, simple noose
Pros: quick and easy to tie and release; larger than Overhand Knot
Cons: less secure than a standard Overhand Knot
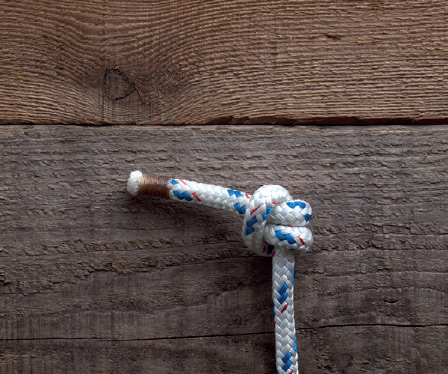
3.
Uses: stopper, binding, handholds
Pros: quick and easy to tie; more secure than Overhand Knot
Cons: hard to untie
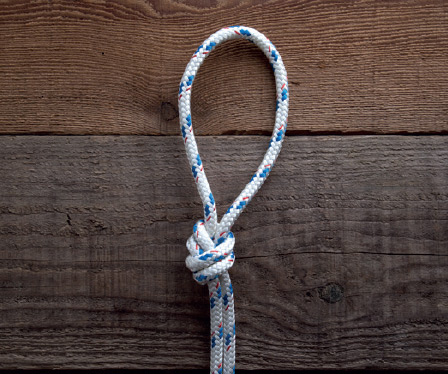
4.
Uses: fixed loop anywhere on a rope; attachment, tie-off, or purchase point
Pros: quick and easy to tie even if neither end is free
Cons: difficult to untie
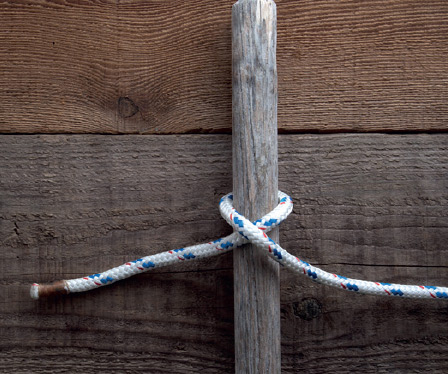
5.
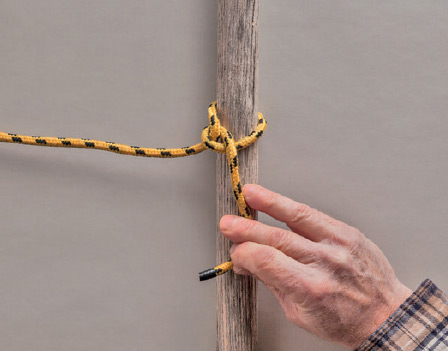
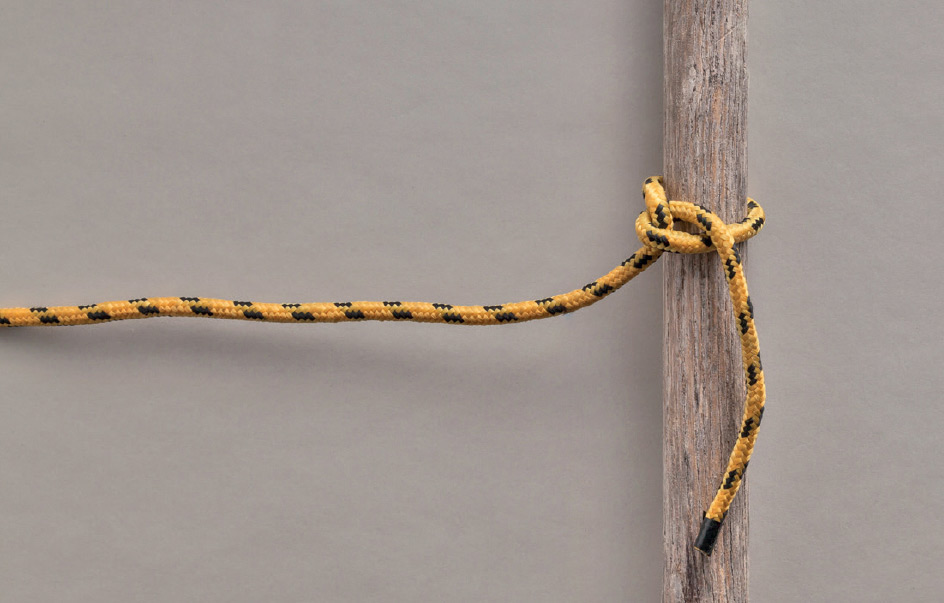
Uses: hitch to maintain light, instantly released tension; hold an end in place temporarily
Pros: ties and releases instantly
Cons: extremely insecure
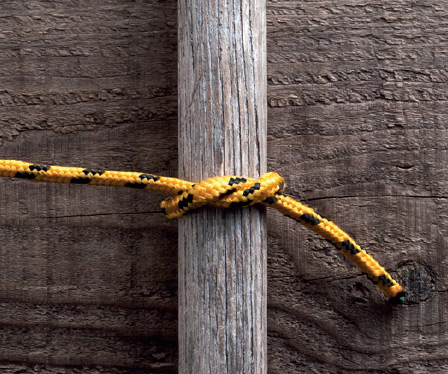
6.
Uses: light-duty or temporary binding of bundles or packages
Pros: quick and easy to tie; easily untied
Cons: insecure
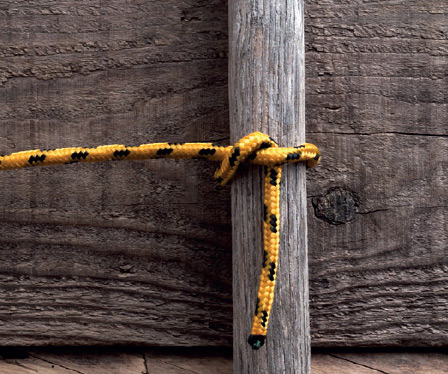
7.
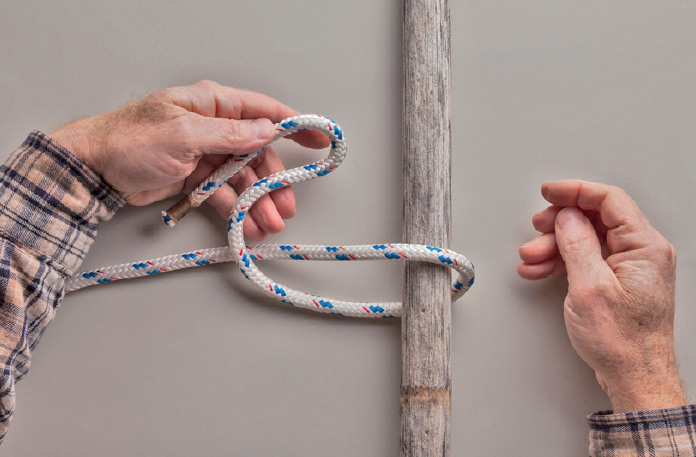
Uses: maintain light tension on an object that must be easily released
Pros: quick and easy to tie and untie
Cons: insecure; slips easily
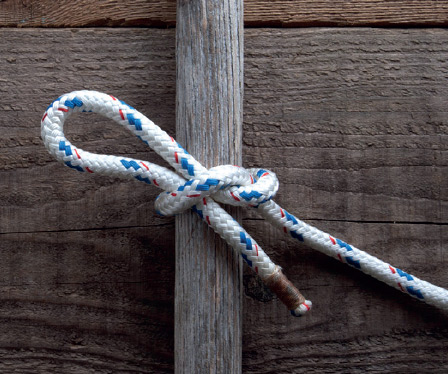
8.
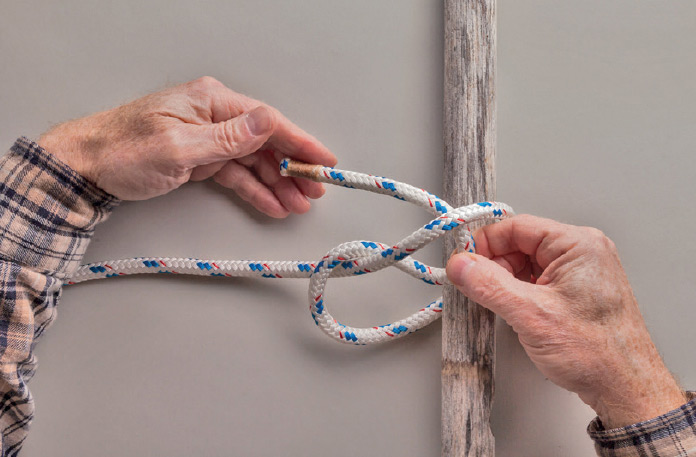
Uses: maintain light tension on an object that must be easily released
Pros: easy to tie, quicker to release than Half Hitch
Cons: insecure; slips easily
