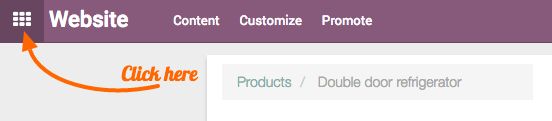
You can activate the multiple images for the product. With multiple images, the user can understand the product and its features easily. Go to backend by clicking on the top-left application icon. You will be shown our instance home page:
To activate the feature, go to WebsiteAdmin | Configuration | Settings, search for the Multi Images option, and select Several images per product. Click on the APPLY button to save the setting:

As soon as the settings are saved, you will be redirected to our instance home screen. Go to Website Admin | Catalog | Products and open the product to add multiple images. The new tab IMAGES will be added to the product form:
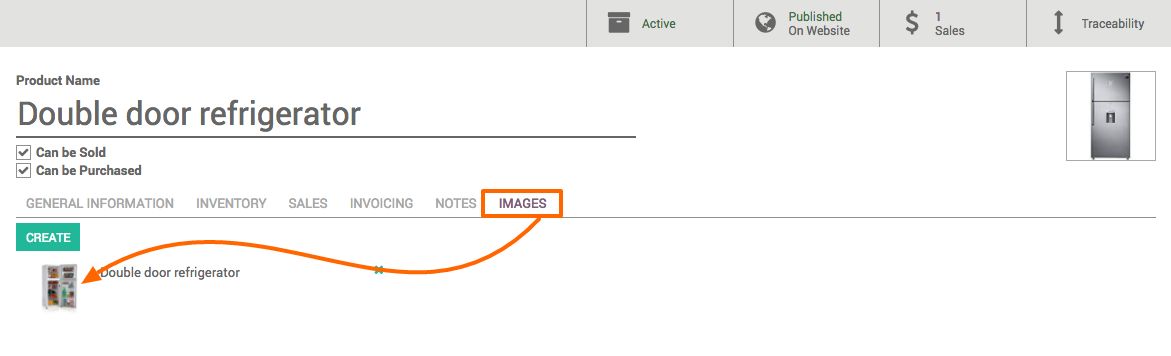
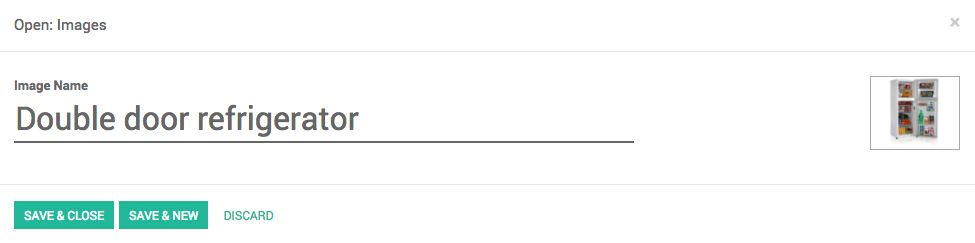
Click on the CREATE button to add the image. The pop-up form will appear; fill the name and select the image. Click on SAVE & NEW if you would like to add another image or click on SAVE & CLOSE to save the added image:
Add multiple images for the product. Click on the Published button on the Product form.
You will be redirected to the product page. It will look like this:
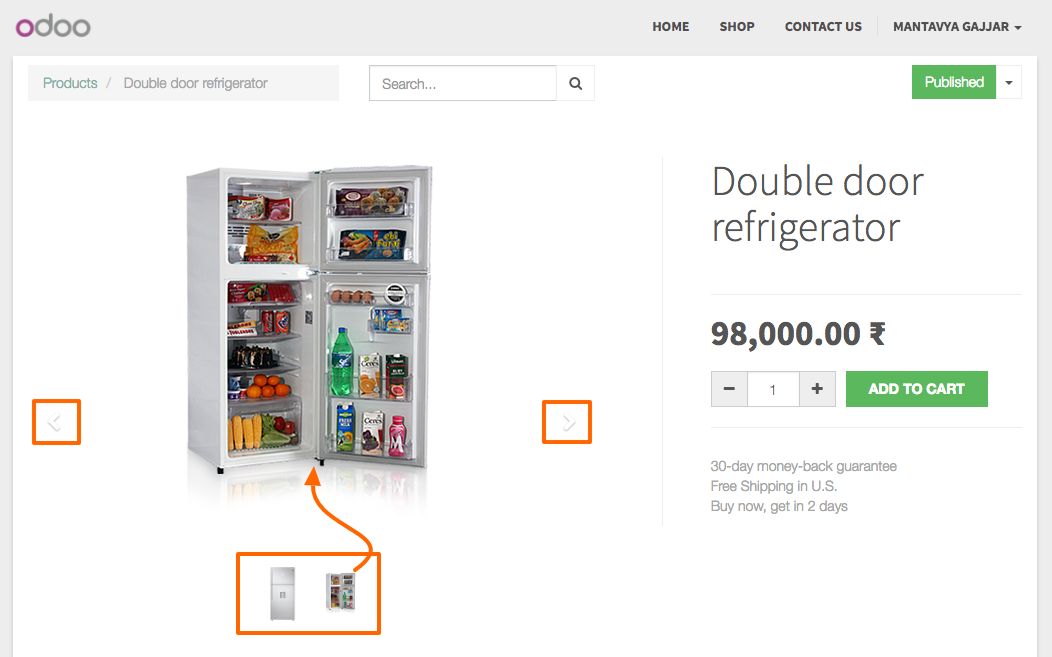
The product image converted to the image-sliding control. You will be able to see all the attached images. Click on the next or previous arrow to move through a set of images, or click on the image from the image list here.

