To assemble the base, we used a massive piece of scrap 1/four" MDF board and a pair 1x3" planks to serve as the sidewalls. status the forums up on stop to create a box helped preserve the cooler in vicinity while the bottom turned into transferring.
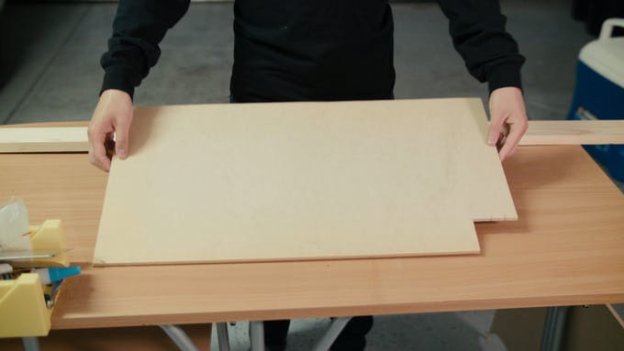
We measured the MDF to be about 1 inch large on every aspect than the scale of the bottom of the cooler. In this situation, the cooler was 17.5x11.five", so we reduce the MDF to be about 19.5x13.5". The more area allowed the 1x3" forums to be nailed on pinnacle of the MDF. Our jigsaw worked properly to cut this piece.
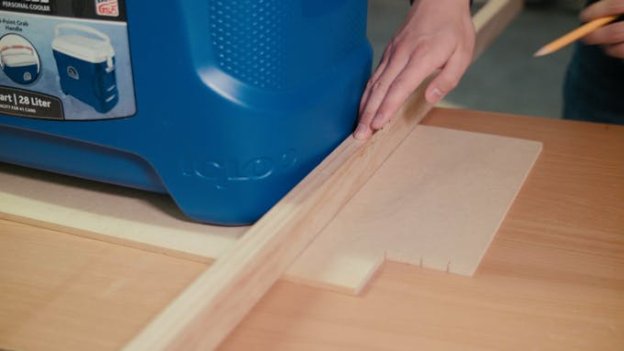
The 1x3" planks were reduce to the identical period because the intensity of the bottom, however we made them about 2 inches shorter on the width in order that they may align with the rims of the MDF. The planks were connected to the MDF with a few small nails.
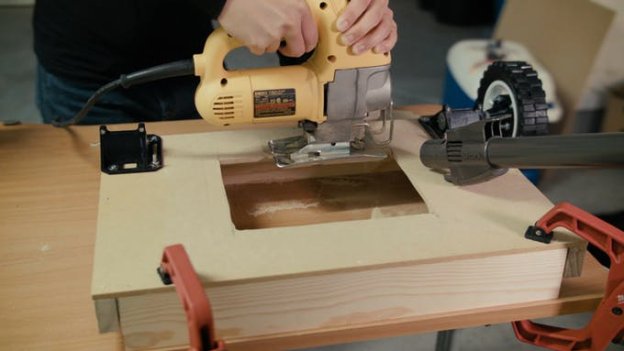
as a way to residence the electronics, we made a small container the usage of the equal manner because the base platform (albeit the usage of some 1x2" planks in preference to 1x3"). We eyeballed the size here, however it grew to become out to be about 11x9". The electronics container became nailed to the bottom of our platform once we reduce a hollow in the MDF with our jigsaw.
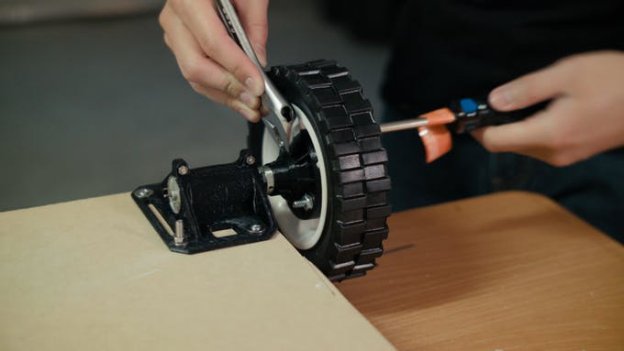
in the end, we brought the additives for the drive machine. The wheels used a pair 3D revealed brackets (3D elements provided below) to mount our excessive torque 12v automobiles. A 3D published connector changed into connected to a metal hub to mount the wheel at the motor shafts.
A simple swivel wheel become used at the again of the platform. It changed into connected with another 3-d revealed bracket.