There are several optional accessories you can buy that are specifically designed to work with a Raspberry Pi. The most popular of these is like the camera module, which allows you to take pictures and videos on the Pi, greatly expanding its capability for projects.
The camera module was released in May 2013 as an alternative to pairing the Pi with external webcams, saving you the space in your USB and other inputs for other peripherals. It’s designed to slot directly into the video-in connector on the Pi computer.
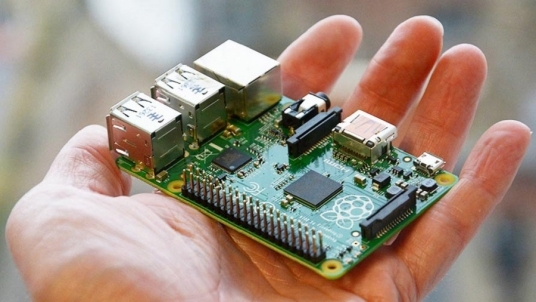
Like other items in the Pi line, the camera module is very affordable. A standard version costs around $25; you can also get a night vision module for around $35, though you’ll also need to buy an IR lamp to use with it. In terms of specs, it uses a 1.3 megapixel camera mounted on a board that’s around one inch square. This makes it slightly bulkier than other webcams, but it’s still plenty small enough for portable projects.
There are a whole host of different projects that you can make with a camera module (and users are coming up with more all the time) but you can also use the Pi as a controller with other equipment like webcams and digital cameras. The project ideas that follow in this chapter showcase a few different styles of camera projects to help you get started.
Security camera
If you want to buy a home security camera in the store, you’ll likely need to spend several hundred dollars, and often will also need to pay for professional installation and maintenance. A Pi security camera, on the other hand, allows you to take live looks at your feed or to save it to the drive—and all you’ll need to make it, aside from the Pi and the camera module, is a non-descript casing to conceal the system.
You can set up your Pi security camera to begin recording whenever it detects movement. It can also be set to send you alerts when anything is captured on camera, as well as providing you a link straight to the footage. The only tricky thing some people find with a Pi security camera is that it will generally need to be positioned near to a wall outlet to receive sufficient power. While you can get portable battery packs that are compatible with Pi computers, using outlet power is preferable because it allows the camera to continue running as long as it’s plugged in, without you having to check whether or not it has sufficient power remaining.
Because you won’t be hooking the Pi up to a monitor for this project, you’ll want to start by installing Raspbian on your Pi and enabling SSH. The rest of the process will be accomplished remotely. Again, there are a few different ways you can design and set up your security camera. Life Hacker has free instructions for a version using the Pi Zero that’s both affordable and relatively easy to set up. HackerNoon.com has a popular Pi home surveillance system that only requires the use of 150 lines of code, very do-able even for a complete novice.
Time lapse video
Purchasing time lapse equipment is an even costlier proposition than buying a security camera. The professional version can cost up to $1,000—a bit much if you just want to use it for home projects. Using a Pi, though, you can give any compatible DSLR camera time lapse capabilities. All of the work can be done over SSH, meaning you won’t need a designated monitor and making the controller much more portable.
This is one of the projects you can find described on the Raspberry Pi Foundation’s website (). It lists a few different methods for getting your Pi camera module (or another attached digital camera) to take a photo at regular intervals for a designated length of time.
After you’ve captured the images, you’ll need to convert them into a movie. It’s usually best to transfer the files to a computer for processing, where you can stitch the images together using any number of video editing software programs. There is a method for stitching the images together directly on the Pi, but it tends to be a fairly slow process, and won’t give you as much control as with video editing software.
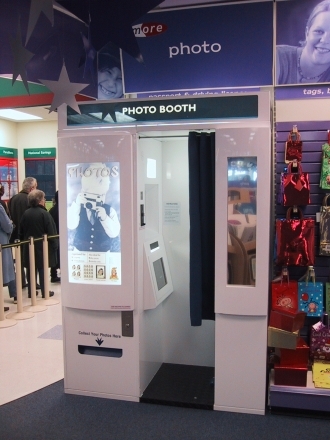
Photo booth
Everyone has seen those photo booths set up in the mall or at an event. Most of the time, it’s a small cubicle closed off with a curtain that will let you take some pictures and then print them off for you and your friends to treasure and enjoy. You can bring this same experience to your next party easily (and without spending a whole lot of money) by setting up a photo booth with your Raspberry Pi.
MakeZine.com came up with a fantastic set of instructions for a photo booth that also makes use of the Pi’s touchscreen interface for a photo booth station that all of your guests can use. You can build it easily in a weekend for around $50-$100, all parts included. The pictures are uploaded automatically to Google Photos so that all of your friends can view and share them.