Introduction
you will find information about the main categories of knots and what they’re used for.
Once you know the category of knot you’re looking at, or that you need to tie, turn to the part of the book that covers that category in detail. Each part begins with an identification key, consisting of photographs of every knot in the category, accompanied by a brief list of the knot’s common uses. You will also find pro-and-con comments that compare a given knot to others in the category, in terms of security, ease of tying or untying, and other need-to-know information. Each photo is keyed to the page where tying and untying instructions are found, along with a more detailed description of the knot and its uses.
Like any other skill, knotting has special terminology, but the lexicon is pretty small and easily learned. It is much easier to read and follow instructions that use precise, concise terms rather than long descriptions.
So be sure to read the first two sections of . As soon as you begin tying your first knots, these terms will all become familiar friends.
Knowing how to tie the right knot for every job is a useful—sometimes essential—outdoor skill. But it’s also fun, gratifying, and very impressive when you can quickly rig a safety line for a climber, lash a canoe onto a car, or put up a tarp that stays up while others are struggling and flailing with tangled lines and knots that don’t hold. Start by learning just a few knots in each category, and you may find yourself coming back for more.
If a knot doesn’t come out right, untie it completely and start from the beginning, making sure each step is done exactly as shown.
Sometimes a correctly tied knot won’t look like the photograph, in which case, it will simply need to be faired, i.e., worked into shape by some careful rearrangement. See for directions on finishing and fairing knots.
All knots can be tied upside down or as mirror images of the examples. When learning how to tie a knot upside down from the way it’s pictured, you can simply turn the book upside down and follow the photos in the normal order. To tie a knot that’s a mirror image of the photo (in which left and right are reversed), you can view the pictures in a mirror. Remember that when you do such a reversal, some but not all of the following directional pairs may need to be reversed as well: left/right, up/down, over/under, overhand/underhand, and clockwise/counterclockwise.
There’s more than one way to tie most knots to produce identical results. The choice of an alternate method may be merely a matter of preference, or it may be dictated by the situation. This book provides alternate methods for a few knots, but different approaches may work just as well for almost any of them.
Rope comes in many varieties and sizes, and some knots don’t work well with all kinds of rope. Twisted (“laid”) rope kinks more readily than braided rope if looped in the wrong direction. Large-diameter rope may not take kindly to being bent into a small radius. Some synthetic ropes are too slippery to hold certain knots securely. And ropes of greatly different sizes or different materials may not knot together easily or effectively. See to learn how to select rope that’s appropriate to your needs.
It’s one thing to tie a knot with the book in front of you on the kitchen table—it’s another to tie it when you need it in a real-world situation. The key to truly learning a knot is memorization through repetition and practice. After you’ve tied a knot a few times using the book, try doing it from memory. Then try again in an hour, and again the following day. With the exception of the simplest knots, chances are that you may forget the procedure. But tie that knot from memory every day for a week, and you’ll own it. Then, when you need a knot fast, you’ll be able to do it confidently and correctly, regardless of conditions.
Safety
Personal safety in outdoor activities can depend upon good rope and well-tied knots. Climbers carefully inspect their ropes and habitually check each other’s knots to guard against mistakes. If you don’t have access to experienced backup, it’s important to check your own knots scrupulously before relying on them. If you’re unsure about a particular knot, it may be safer to substitute one in which you have total confidence, even if it might be less convenient.

Broken fibers indicate that this rope is well past its useful life for any purpose where safety is at stake
The condition of the rope itself is also of key concern. Just sitting on a shelf, almost all ropes will deteriorate with age, and wear accelerates with use and exposure to the elements. Inspect any rope inch by inch before using it in a safety-related application. Signs of excessive wear or age include: fraying, permanent kinks, discoloration, broken or melted fibers, reduced diameter, the cover sliding over the core, and areas where the angle of the lay or braid changes.

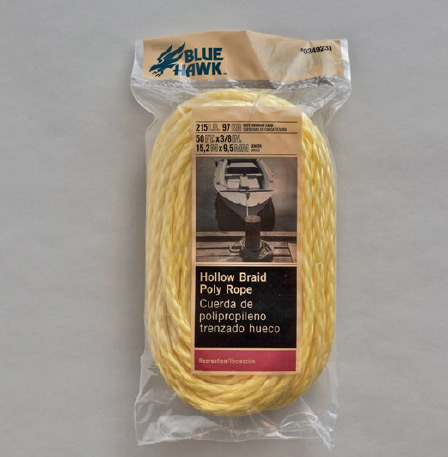
The safe working load of most rope is printed on the package. It’s usually considerably lower than the breaking strength
“Breaking strength” is the load at which a rope breaks under laboratory conditions, when brand new and under steadily increasing load. This figure may not be readily available to the consumer, but working load—the maximum load to which the manufacturer recommends the rope be subjected—is usually printed on the packaging, or on the reel in stores where rope is sold by the foot or meter.
The working load is usually in the range of 15–25 percent of the breaking strength. This may seem overly cautious, but in fact it’s merely prudent. Most rope becomes weaker when wet, and many knots reduce the strength of rope by half, so as soon as you tie a knot, the rope’s margin of safety (the difference between its actual breaking strength and the working load) could drop from 4:1 to about 2:1. The working load also allows a reasonable safety margin considering the age of the rope, its wear, and, to an extent, any shock loads (sharp jerks) it has absorbed. Any rope that has been subjected to a really heavy shock load should be retired from use where safety is an issue, and used henceforth only in non-critical applications.
Ropes in long-term outdoor static use (such as securing tarps over boats or stacked firewood) are exposed to sunshine and frequent cycles of wet/dry and freeze/thaw, and they pick up blown dust. All of these shorten a rope’s lifespan. Cheap polypropylene rope is particularly subject to degradation from UV exposure, which can make the fibers brittle in a matter of weeks. These kinds of commonplace uses are a good way to re-use high-quality rope that has reached the end of its safe working life in more critical applications.

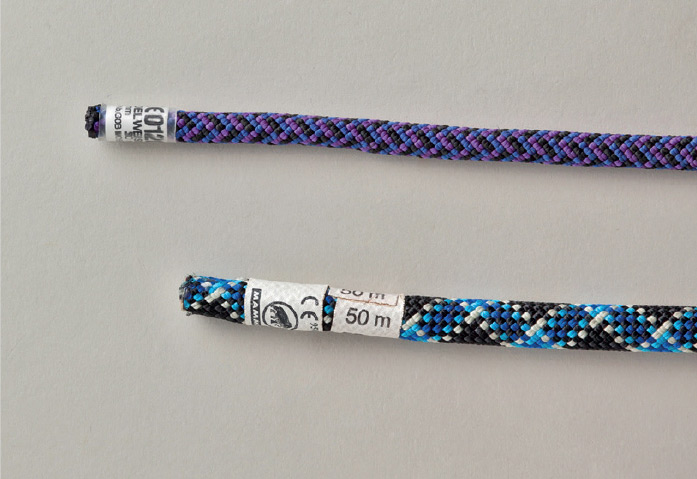
Climbing ropes have details permanently marked with end labels
Many ropes—including all modern climbing ropes—are constructed in two (occasionally three) layers, with a central strength member or core composed of (usually) twisted strands, covered by a braided mantle (also known as a sheath or cover) that protects the core from abrasion and provides a good gripping surface. The core of a climbing rope may be weakened or damaged due to arresting a fall, while the mantle remains intact.
Because this kind of damage can’t be readily detected by visual inspection, it is essential to follow the manufacturer’s guidelines on when to retire a climbing rope. To abide by these guidelines, it’s important to record rope use in a logbook, noting the date of manufacture, the date first put into use, the type of use, the duration of each use, the cumulative amount of time used, the number of climbs, the height of any falls arrested, and any known damage.

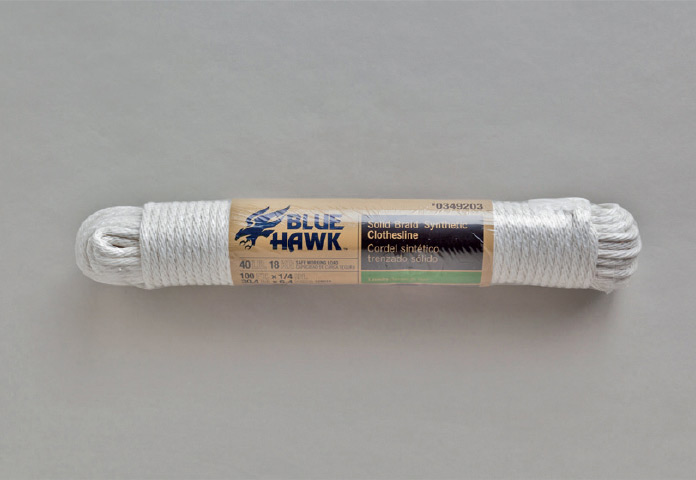
Clothesline is inexpensive but weak. Do not use it in any application where safety is at stake.
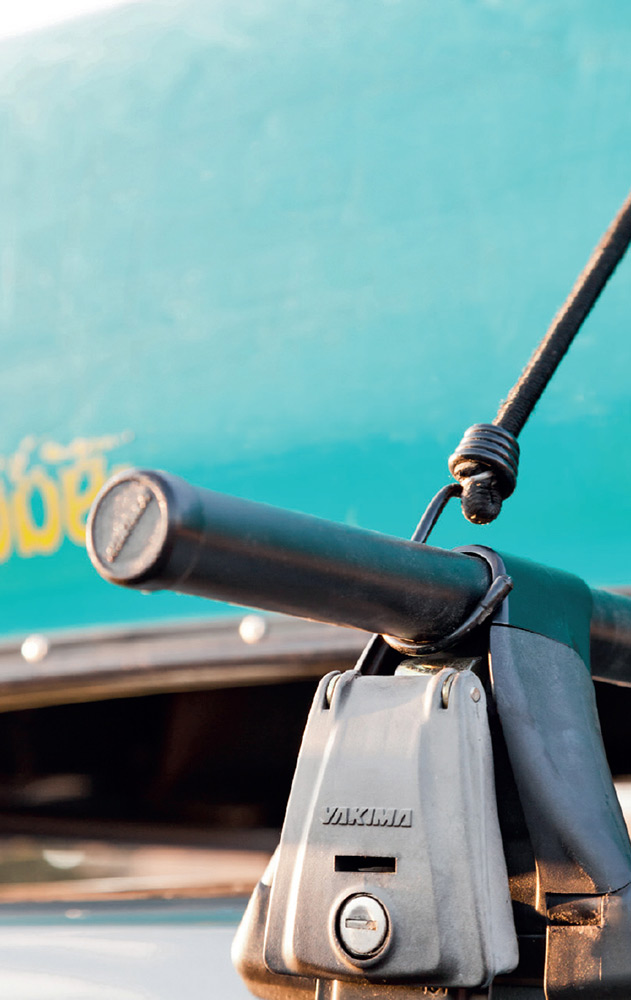
If you’ve ever seen a boat airborne over a highway, chances are it was “secured” to the vehicle with either clothesline or bungee cords. Clothesline is cheap and ubiquitous, but it is not adequate for any application involving safety. Don’t use it to tie up boats, protect against falls, lift heavy loads, or secure cargo to a motor vehicle or trailer. Bungee cords are useful to fasten tarps over stacked material, control slack, or form a temporary bundle, but they should never be used to secure large or heavy loads.

Never use bungee cords to secure loads to a car’s roof rack

