- Go to Apps and search for the Sales application; click on Install button to install that app. Odoo sales app use to manage your sales activities in Odoo:

On successful installation of Sales application, you will be redirect to homepage and you can get the Sale app on your screen; refer the following screen:

- Click on Sales | Sales | Customers to jump on the customer list. A help message will be appeared to guide you further, the help message will be visible when you do not have record:

- Click on CREATE button to create a new customer. The first thing to decide is, a customer type. Is the customer a walk-in retail customer or a company, select Individual if you creating walk-in customer.
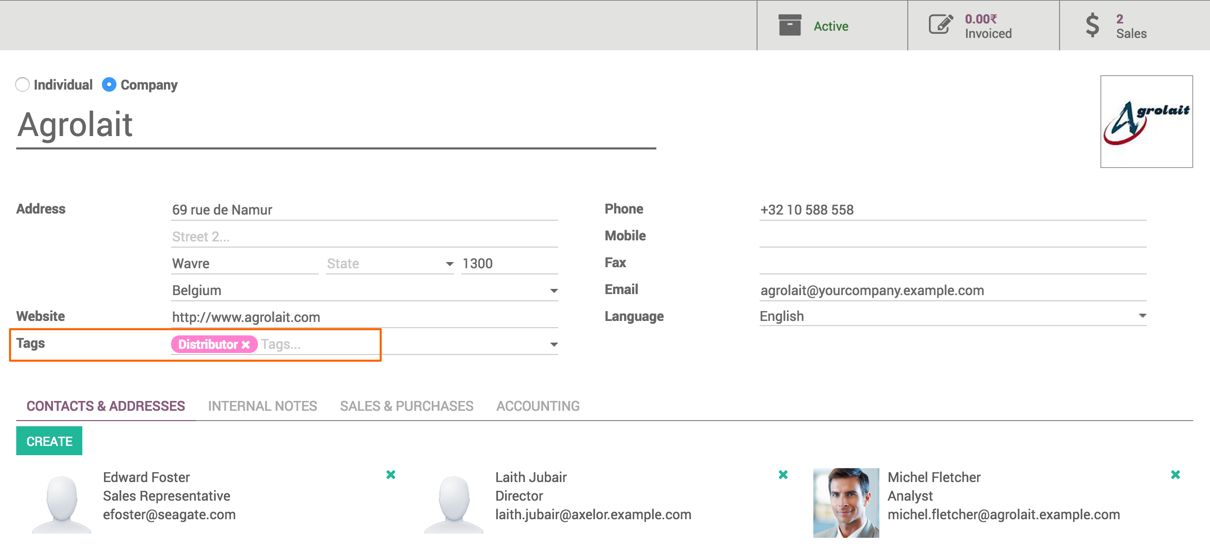
When your target customer is consumers, you can set your customer as Individual. In our case the customer is a legal company so, Company is selected:

Enter Name, Address, Email, Website, Phone and Mobile. Except Name, all other are optional fields, you can enter name and click on the Save button to quick create customer.
Create a tag depending on how you would like to categorized your customers, I have created components Buyer and Partner / IT Services, as I would like to categorized my customer as Wholesaler, Distributors, Sellers, and Consumers. You can set the color for tag, to identify these more easily on the Kanban view, look at the following screen:

Select the language on customer, it is preferred language for customer to get all the documents to be printed in this language, Odoo does all the communication with the customer in their preferred language, also printing all the reports in customer's preferred language.
- Multiple addresses for the customer can be created form CONTENT & ADDRESSES Tab.

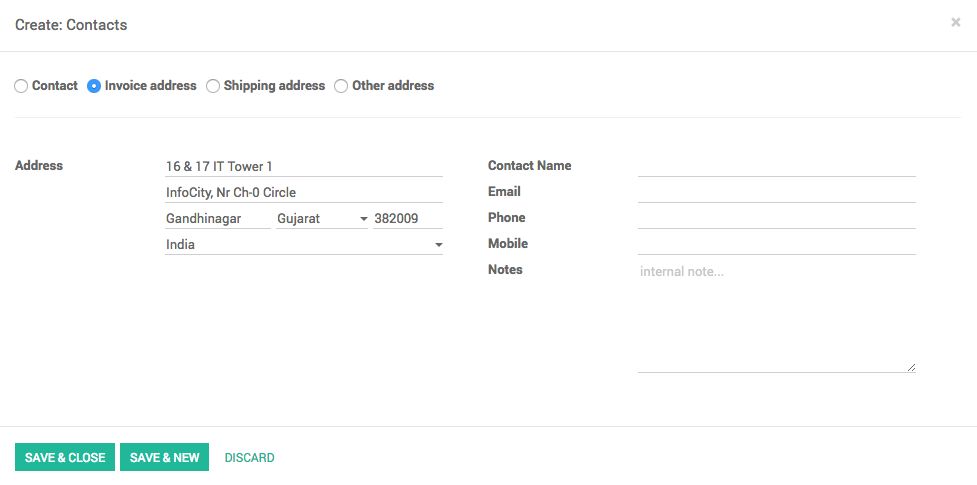
Assume you have to deliver the products with delivery slip to manager in warehouse and invoice should goes account manager in account office. Click on CREATE button to add new contact or address:

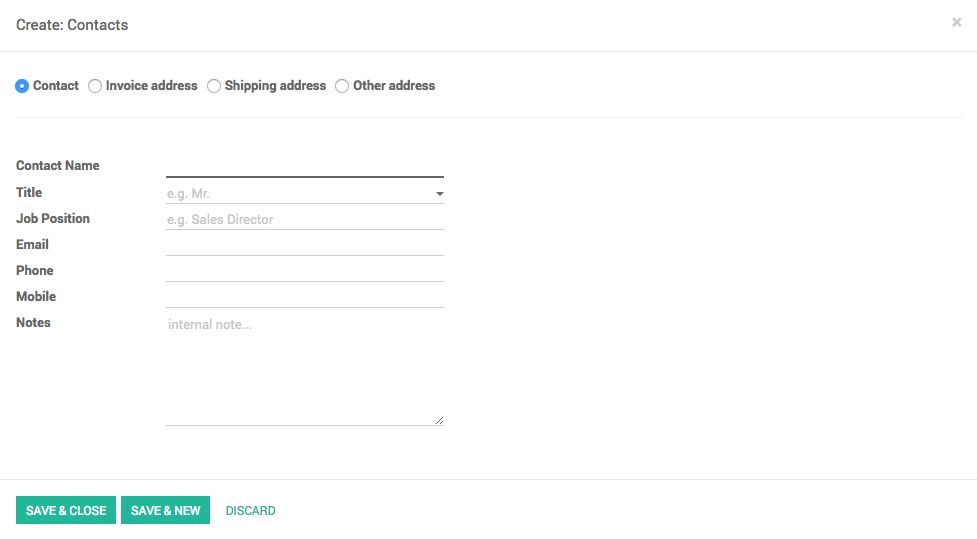
A popup will appear, depending on the address type you choose, fields on the form will be changed. You will be asked to fill the Address, Email, Phone, Mobile and Notes for Invoice, Shipping and Other address type:

However, if you choose a Contact type, you will be asked for the Contact Name, Email, Mobile and Phone.
- Notes, is textbox, you can enter any text you would like to store for the future reference.
- Under the Sales & Purchase tab you will find the settings related to the Sale and Purchase:
- Is a Customer: check if your mark as customer
- Is a Vendor: check if you want to mark as vendor
- Salesperson: a single point of contact in organization
- Internal Reference: A short code for the customer, that helps to find the customer quickly.

- ACCOUNTING tab contains the settings related to the invoices and billing. Make sure you configure Customer Payment Terms correctly; it impacts on the credit limit and due dates for the customer invoices.
The default payments terms are:
-
- 15 Days: a due date will be exact after 15 days from the date of invoice.
- 30 Net Days: a due date will be exact after 30 days from the date of invoice.
- Immediate Payment: a due date will be same as the invoice date; no credit days will be given.
The Fiscal Position is used to differentiate your tax paying and tax exempted customers. By default, choose nothing to keep all customers as tax paying.


