- Go to the home page of your instance, enter studio mode, and click on the Export menu in the upper-left Customization menu. Look at the following screenshot:

Odoo will create a new application by incorporating all the changes in a structured way so that it can be loaded on the destination instance like other Odoo applications.
The download will begin once the module creation is completed by Odoo. The default filename will be customization.zip:

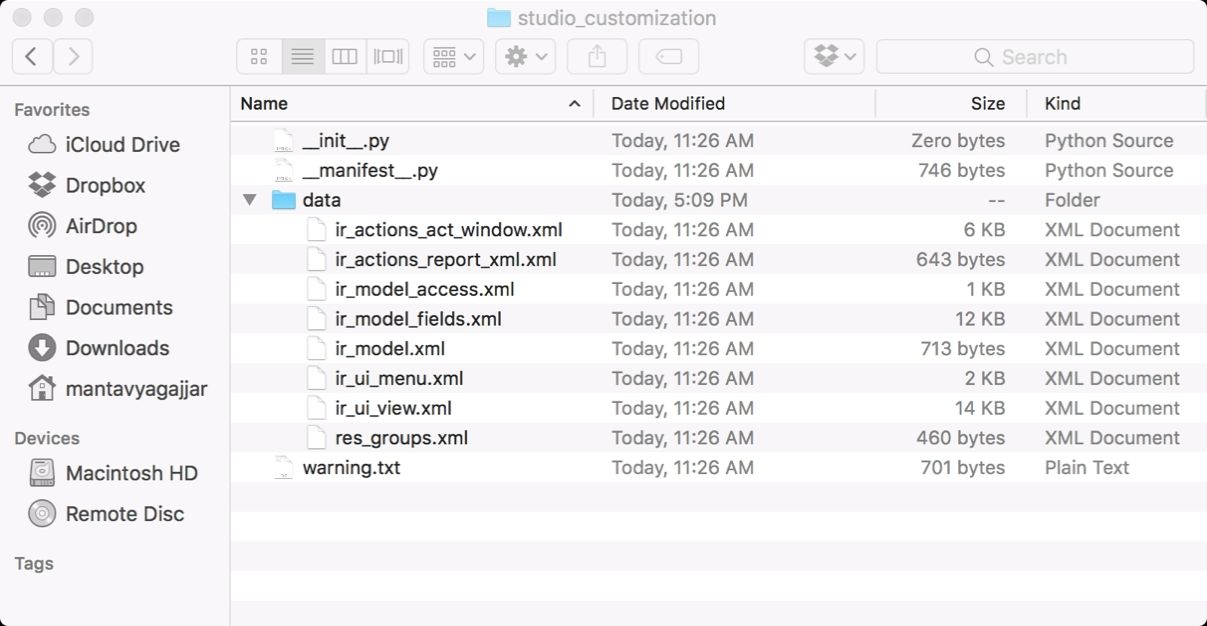
All customization is exported in the form of XML files including Python code, if you write for the computed fields.
- Change a few things before you import this customization to a production instance. Extract the customization.zip file, open the __manifest__.py file, and change the value of name and description to make it a realistic module. Change the directory name to module_name, one you would like to keep.
- Create a ZIP file again. Once you have completed the changes in that module, create a module_name.zip file so that it will be easy for you to separate the features by application on the production instance.
- To import and install the app created with Odoo studio, connect to your production database, enter studio mode, and click on the Import menu in the upper-left Customization menu.
A popup will appear asking you to upload your module created with the Odoo Studio. Click on the upload module button and select the module to upload:

By clicking on the Install button, Odoo uploads your module to an apps list and installs the module.

