- Go to your instance home page, enter into studio mode by clicking on the customization icon, and you will get, as soon as you are into studio mode, a + New App icon is visible at last:
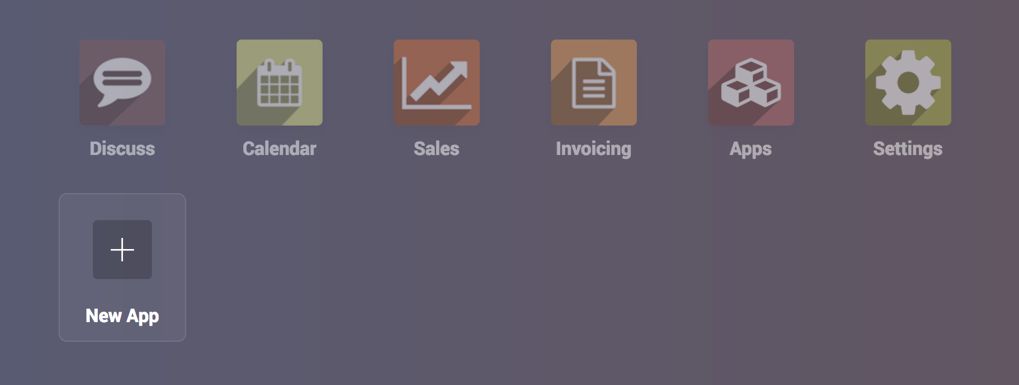
- Click on the New App icon, you will jump into the new application wizard:
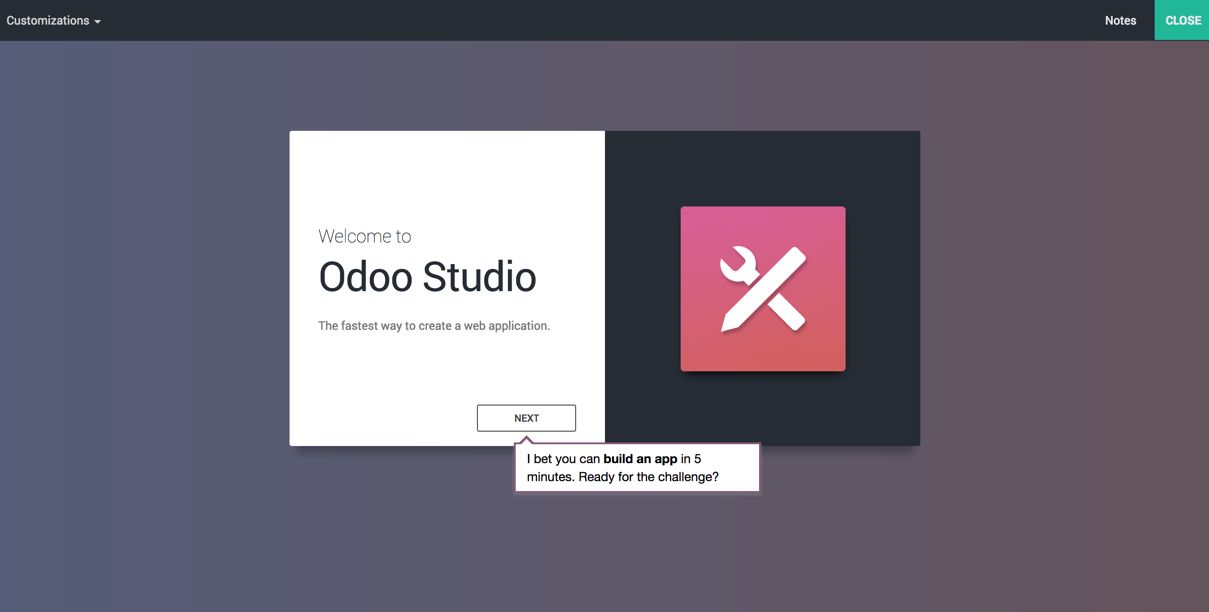
- Click on Next, you have to create an icon for your app. Select the background color, frontend color, and icon. If you do not like the way Odoo allows you to create an icon, you can upload your custom icon instead:
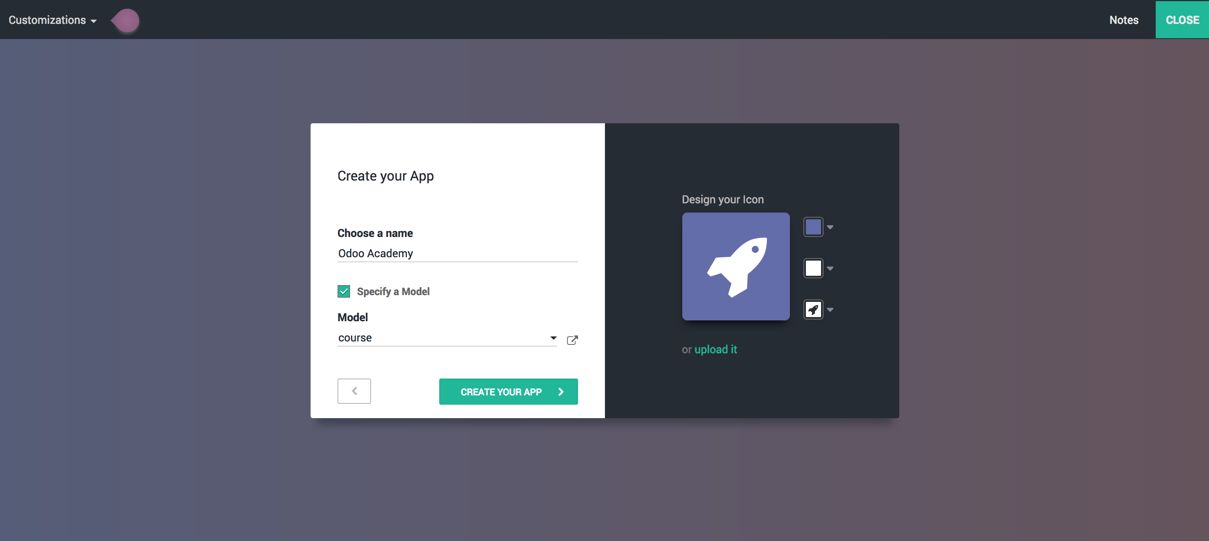
Select Model, you can select or create a new model here. I have to create a new mode course, write a course, and select Create "course".
- Finally, click on the CREATE YOUR APP button to create your application.
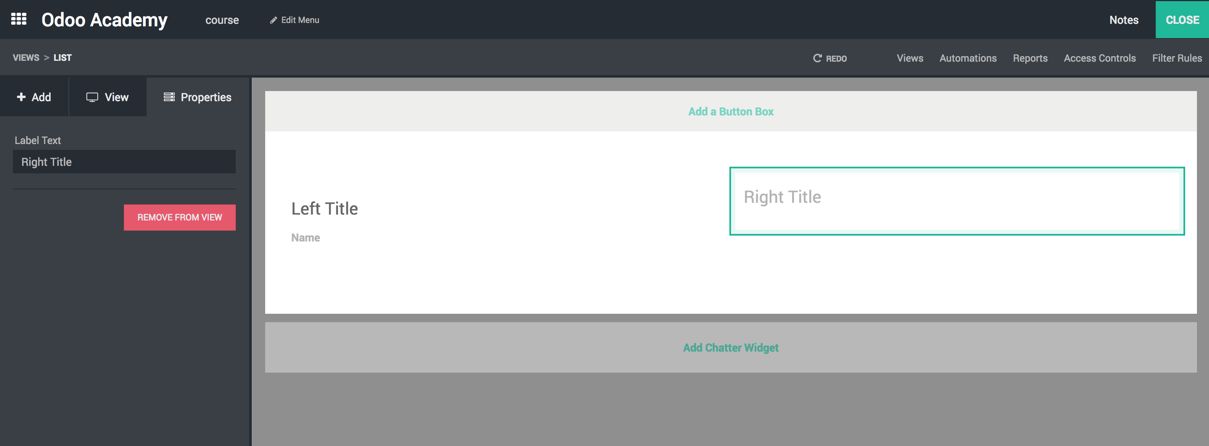
Your application is created and you will directly jump to the form view of your Course model. According to the standard Form view of Odoo the name field has to be on the top of the form and not inside the column components.
Select the Name field, drag and drop on the top of the form.
Select the Right Title section, remove the label from the left panel, and do the same for the Left Title section, keep only the name field which is added by default.
- There are various types of fields and components that can be added on the Form view. They can be added from the Add tab visible on the left panel, drag the Column component and drop it below the name field:
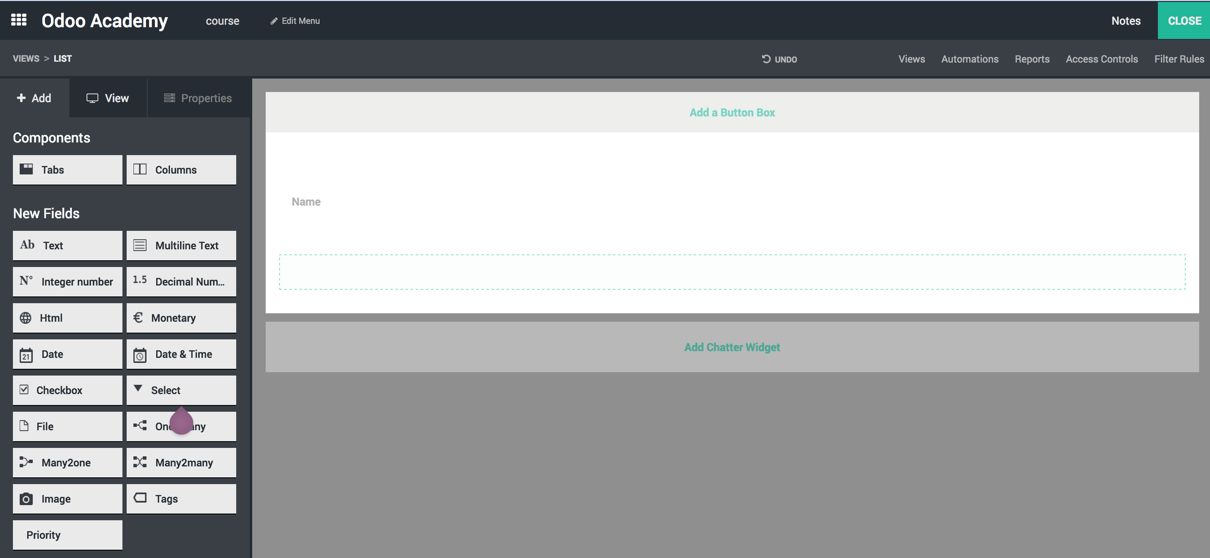
- Select the Left Title section and change the label to Trainer, select the Right Title section and change it to Information. Drag a new Many2one field from the left panel and drop inside the Trainer section, a popup will appear asking you to select the related model. Enter res.partner, the technical name of the Partner model and select it. Select the field and change the label to Trainer:
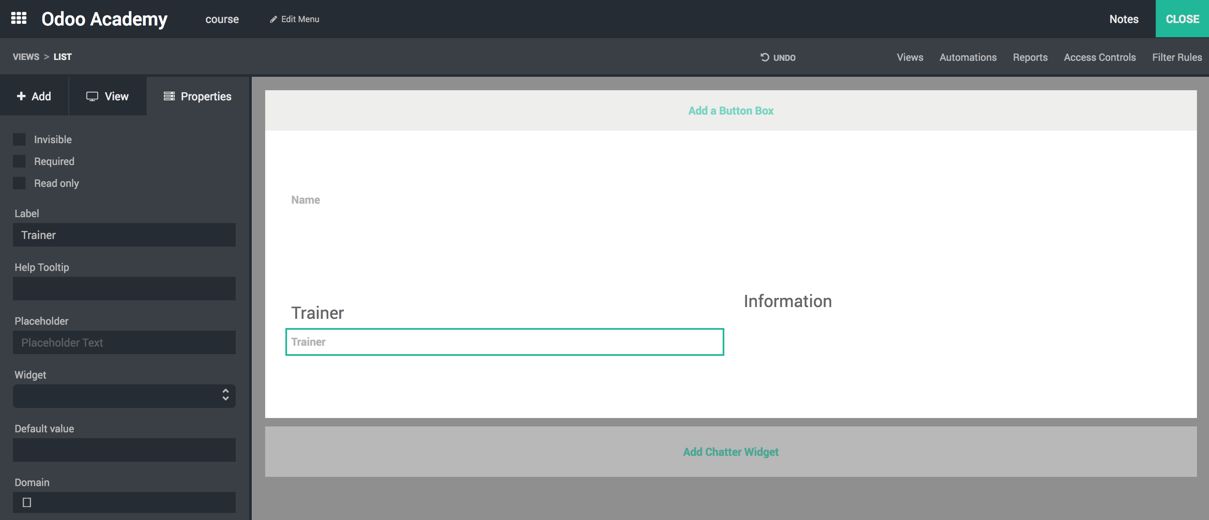
- On the right Information panel, add a Quarter field. Drag and drop the field from the right panel to add the Created on field and drag the Created on field from the existing fields.
- Click on the Add chatter widget, to add a chatter widget to the course mode so that you can track communication for the course:
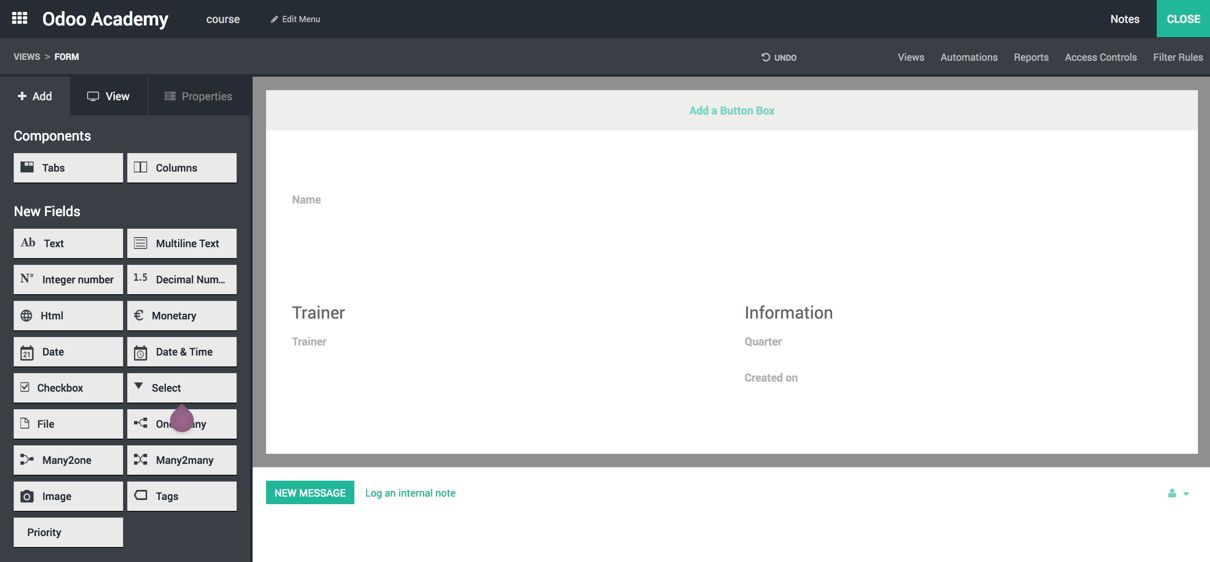
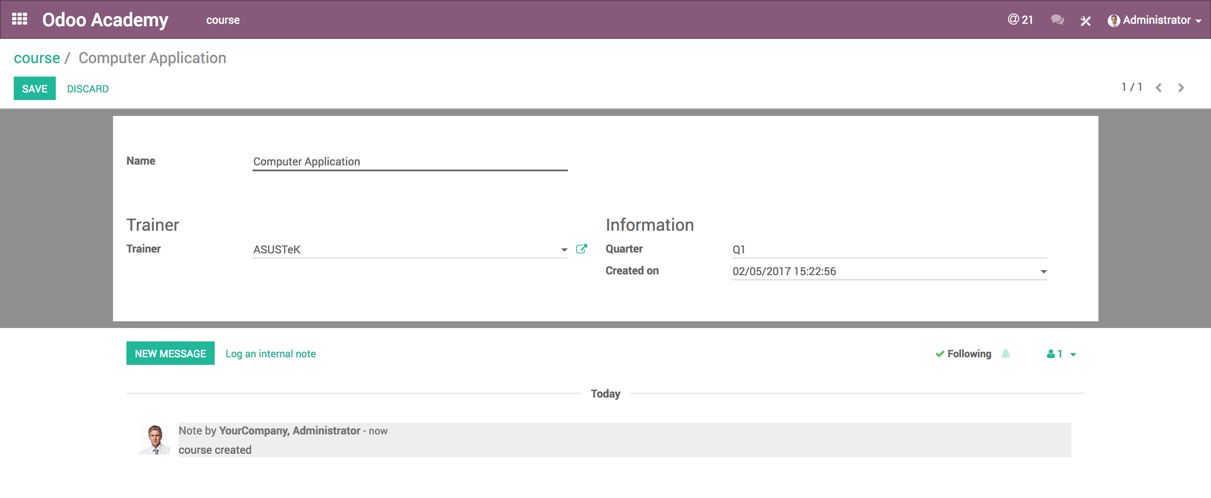
- Exit from studio mode and your course form should look as follows:
- Let's organize menus on the application. Change course to Course, add a new menu, Students to the application. Enter studio mode and click on the Edit Menu button on the top.
To change the label of a course, click the edit button beside it, change the label, and click on confirm:

- Let's create the menu for the student. To create a new menu, click on New Menu, enter Name, select Partner in model, and click on CONFIRM.
Click on Confirm in the Edit Menu dialog and you will have two menus at the top, Course and Students:

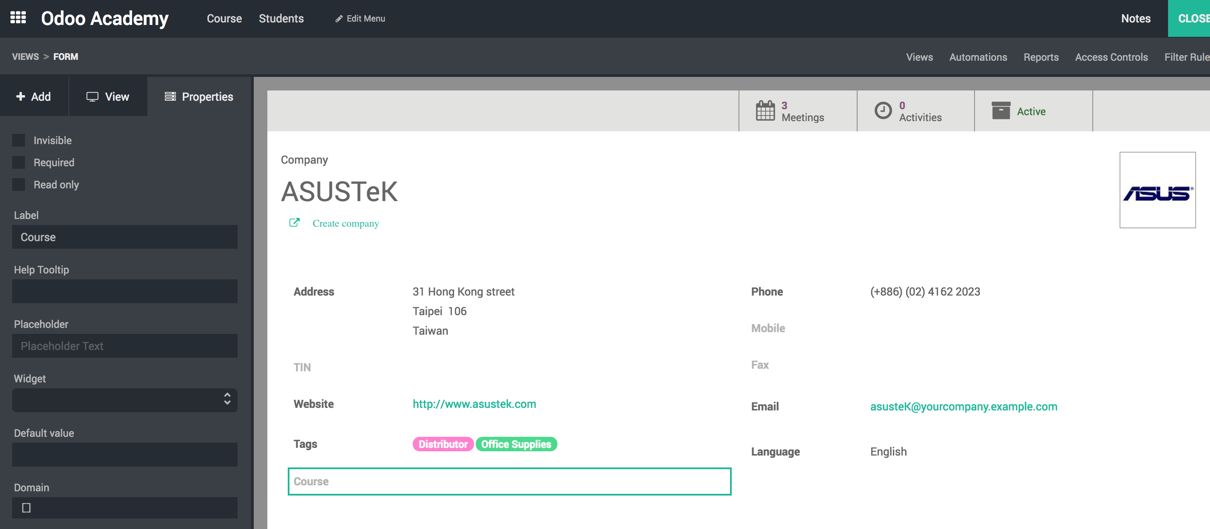
Click on Student on the menu and you will see all the contacts, open a form view. Let's add a new field to associate students with the course. Enter Odoo Studio mode, drag and drop the Many2one field below Tags; this will prompt a popup to ask for the related model name, select the Course as a model. Select the newly added field and change the label to Course:
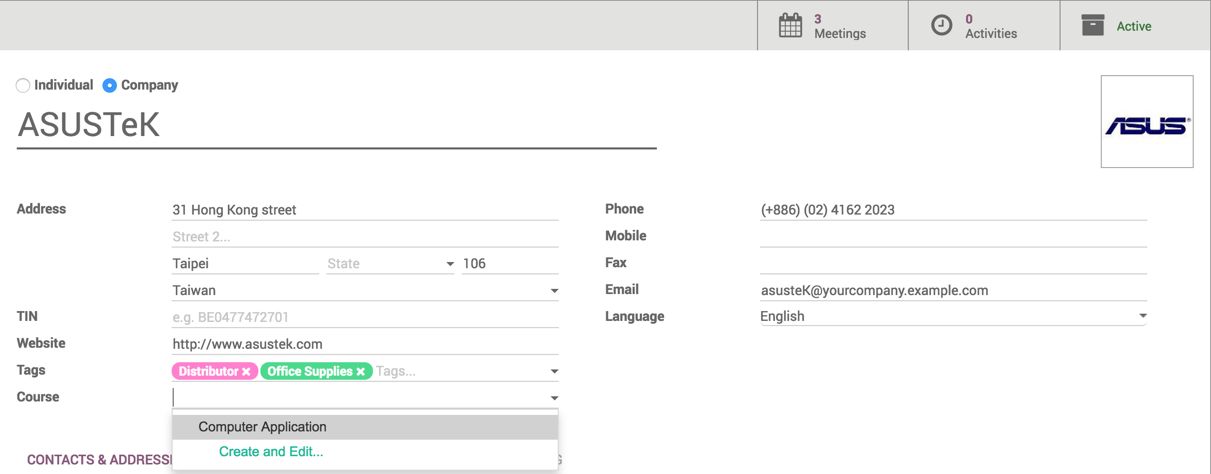
- Exit from studio mode and you can select the course on the student form view:
- Now, go to the Course form view, so that you can add the related buttons that will open the list of students associated with the course. Enter studio mode and at the top of the form view, click on the + button to add a new action button, a popup will appear asking you to enter Label, select the icon and the related field to create an action button:
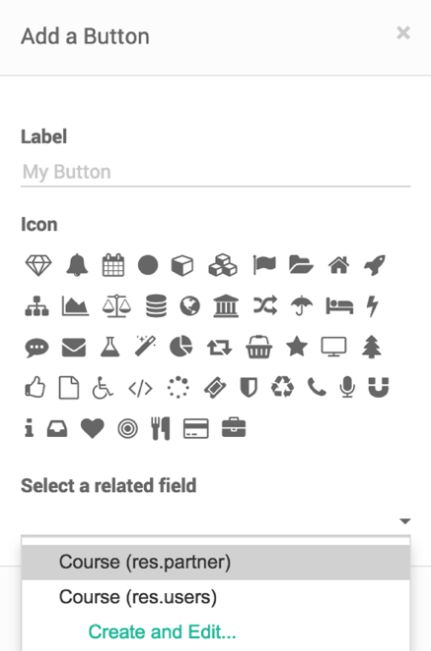
Enter the label Student and select Icon and Partner (res.partner) in Select a related field.
- Click on Confirm, your action button is added to the form and it will display the number of students who have followed the Computer Application course:

Clicking on the Students action button, you will be redirected to the list of student, who have opted for the Computer Application course.

