- Odoo Studio is a module like any other Odoo app. Go to Apps and search for studio. You will be able to see the Studio application as follows:

You can also click on the customization tool available beside the chatter. If studio is installed, you will enter customization mode, or it will ask you to install the Studio first:

- Click on the Install or Install Odoo Studio button to install the Studio app in your instance.
- Studio mode can be activated from the customization tool icon. Click on the Customizations tool icon and you will enter into studio mode, and by clicking on the CLOSE button you can exit the studio mode:
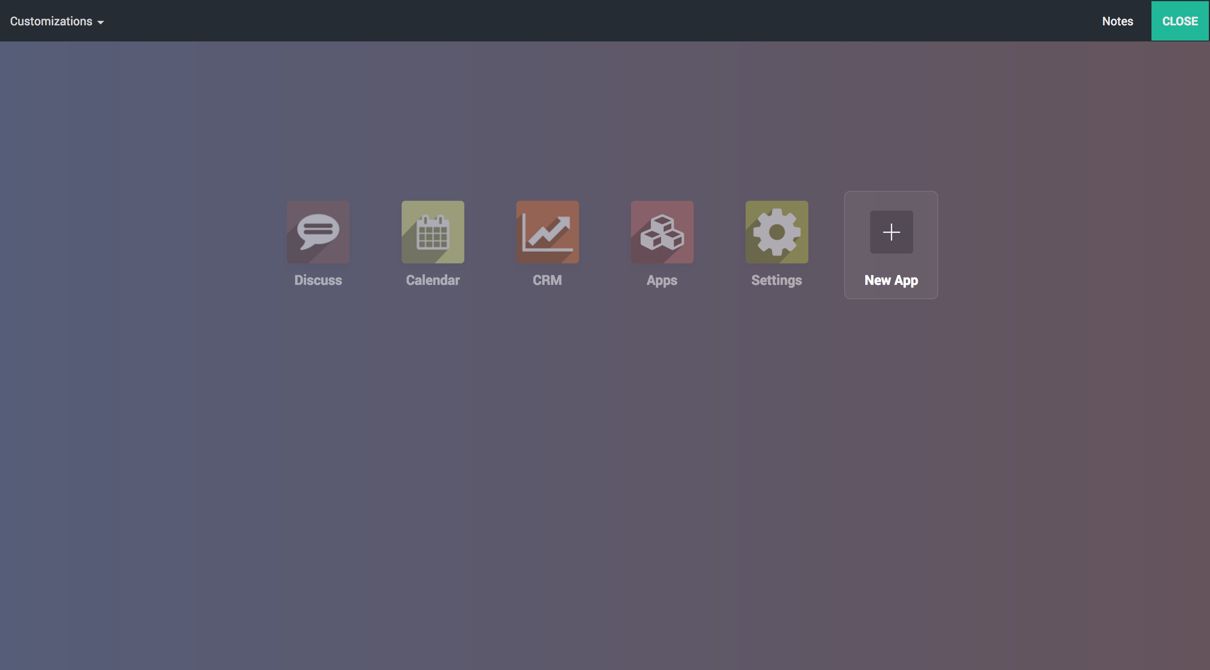
- Click on Notes to create a pad on odoo.com, used to make a note of changes applied on this instance. You can create a short note about the customization applied on an instance for future reference:
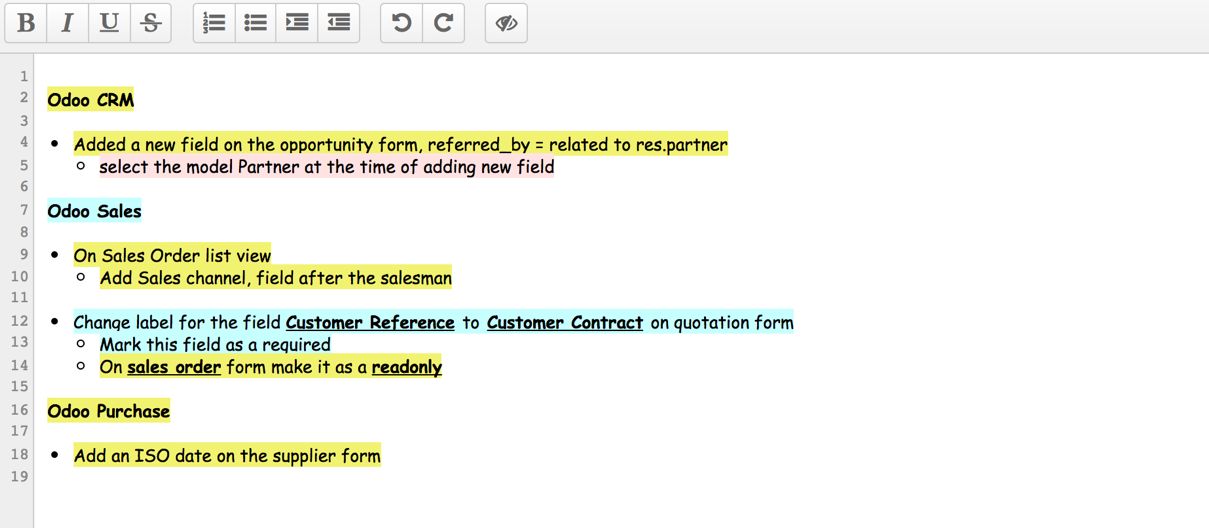
Odoo pad is hosted and maintained by Odoo, you can use a kind of tool that can be shared and writable among your team members.
The Odoo CRM application is already installed, let's add a new field with labeled Referred By on opportunity Form View with a linked contact details, that is, Name, Contact Number, Email, and Website, so on, this field will replace the existing field having just a text information. Click on Sales | My Pipeline. You will get the opportunity pipe, you will be redirected to the form view by clicking on any opportunity:
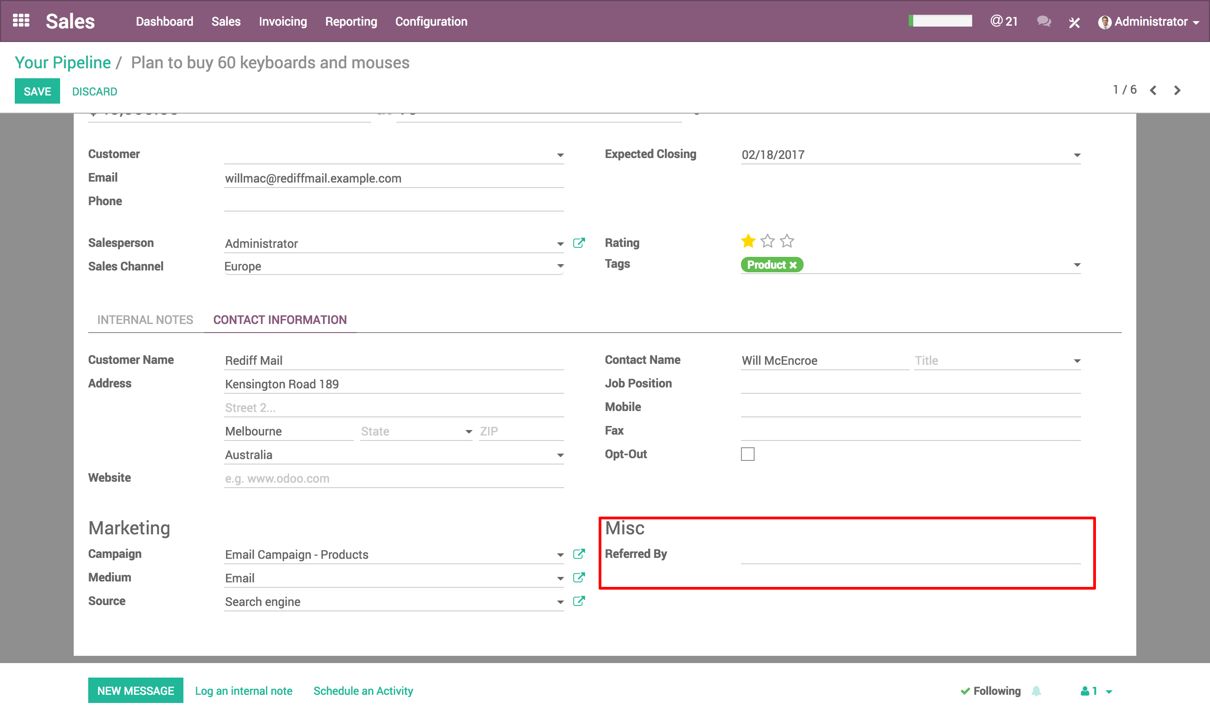
On the Contact Information tab, under the Misc. section, you will see the Referred By field, we will add a new field above this existing one.
To start customization, click on the customization icon and enter studio mode:
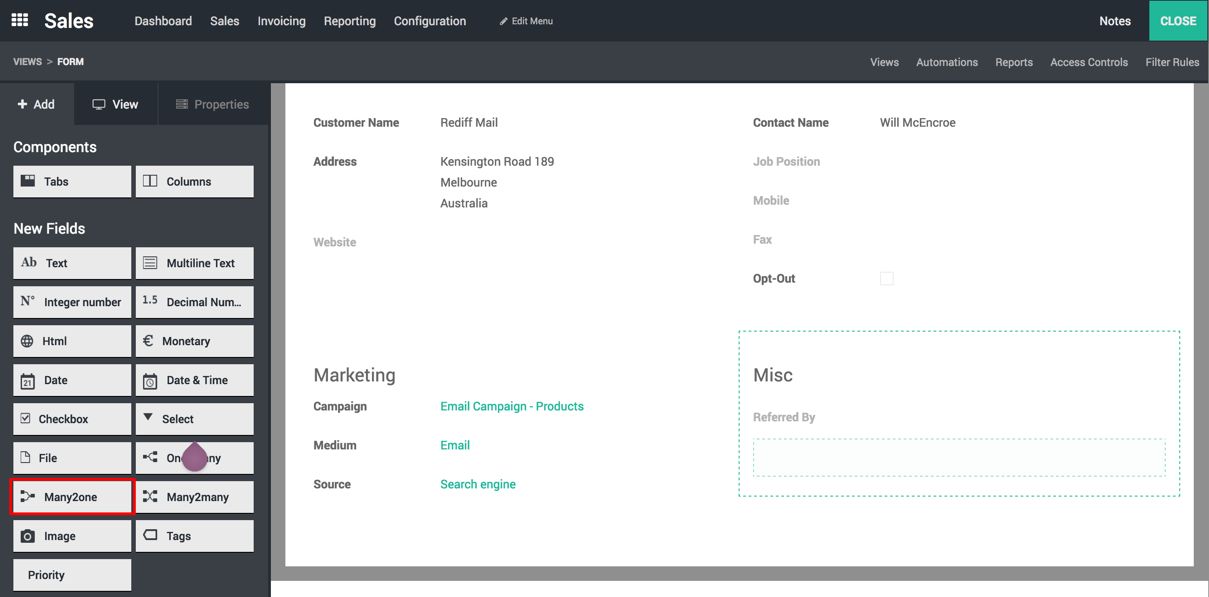
You will see a sidebar that has three tabs, +Add, View, and Properties. A list of field types available to create a new field are on the +Add tab.
Drag a field of type Many2one and drop it above the Referred by the existing field on the form. A pop-up will appear asking you to select the related model for this field:
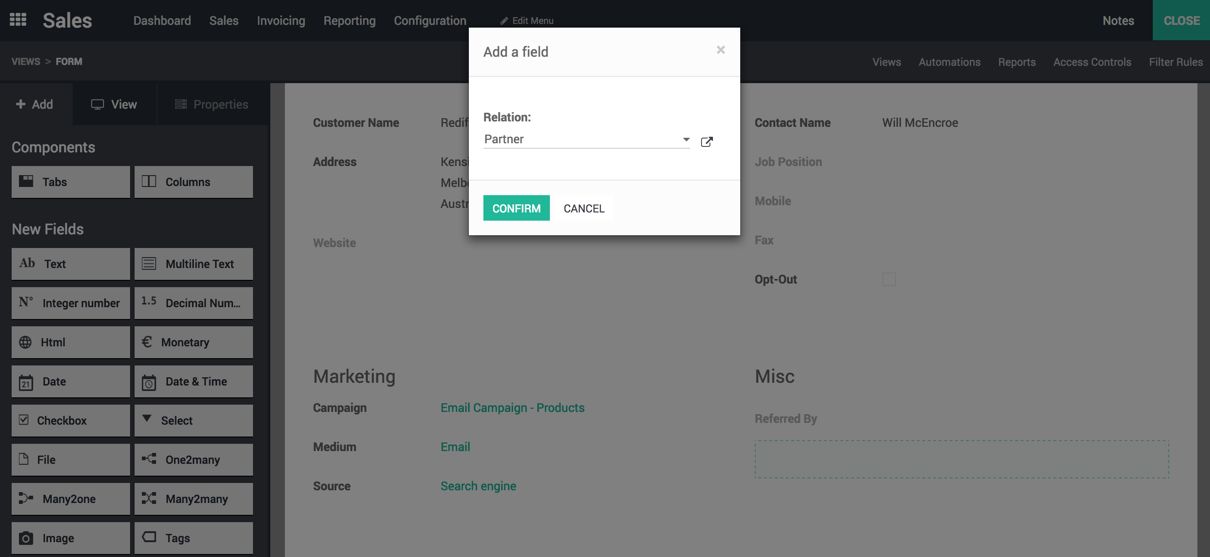
Select an existing model Partner, search for the technical name res.partner. You will see Partner as a result, select it and click on the CONFIRM button.
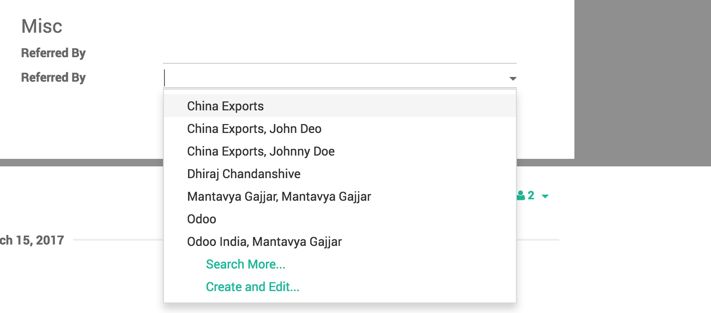
You have successfully added a new field to store a reference for the opportunity.
Some of the information, such as a label of the field might not be suitable. To change the label, select a field on the left panel, and the property tab will be activated. It has a list of properties that can be changed for a selected field. The properties are as follows:
-
- Invisible: You would like to have a field on the form view for reference, but not visible to end users.
- Required: User must enter the value in the field.
- Read only: Users are not allowed to change the value.
- Label: It is a label for the field. In our case, set it to Referred By.
- Help tooltip: It provides a help text that explains what the user should enter in the field.
- Placeholder: It is an alternative text for the field, applicable for text field only.
- Widgets: It is used to select how the field should look.
- Default Value: It sets the default value for the field.
- Domain: It is a technical setting that allows you to set the filter on field values.
- Context: It is a technical setting that allows you to pass the specific values to the server.
- Limited visibility to group: It is a field that is visible to the selected groups only. You can select multiple groups:
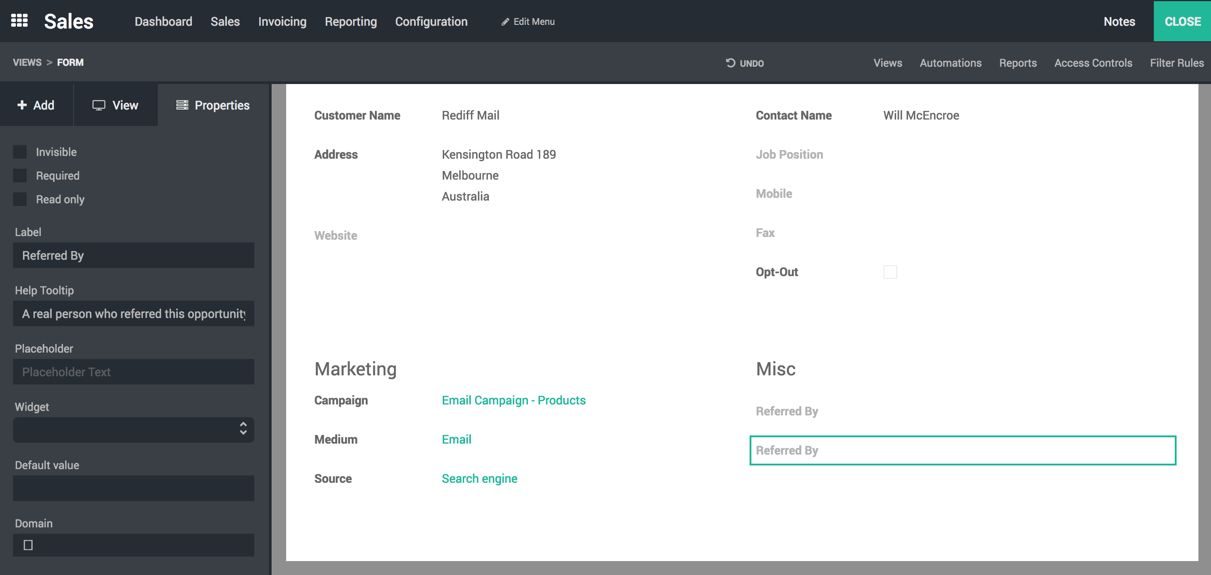
- Change the label, Help Tooltip for the selected field. To exit studio mode, click on the Close button:
- The Odoo Sales application is already installed, let's go to Sales Channel to add the Sales team field in the list view after the Salesman field. Drag the Sales Channel (team_id) field and drop it after the salesman field, and you are done:
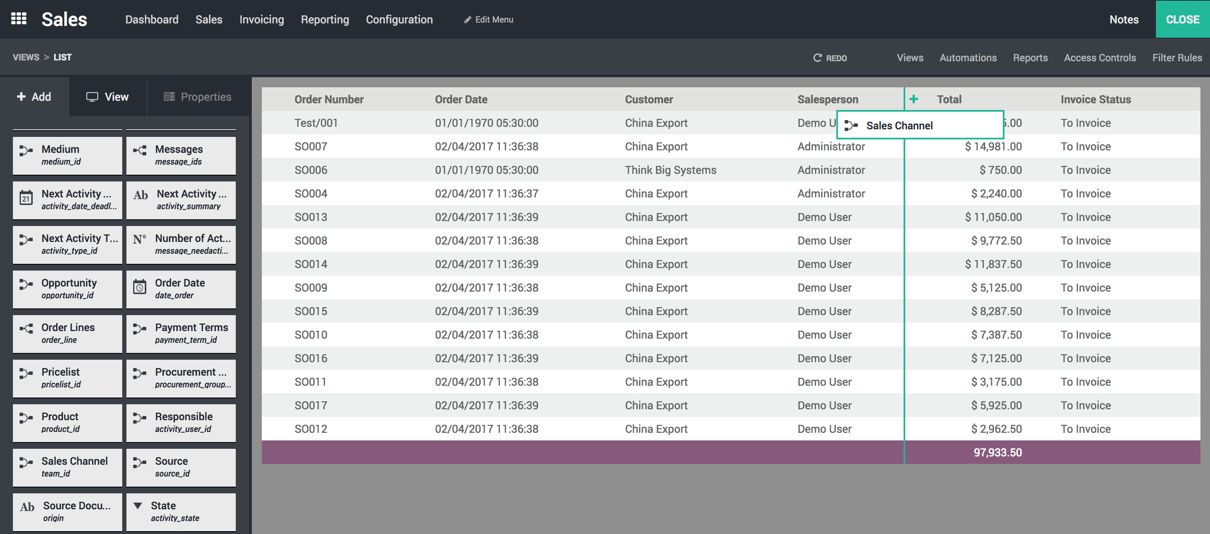
- You have successfully added the Sales Channel field, click on the CLOSE button to exit studio mode.

