- Go to Odoo Apps, and search and install the module called Issue Tracking:

Click on the INSTALL button to install the application. This will install Issue Tracking in the system.
- Now, create a project with the name Support Service and activate issue management by ticking the UseIssues checkbox. Also, select Allow timesheet as we would like to measure the time spent on the customer issue:

- As soon as the Support Service project is created, it will be available on the dashboard. Go to project settings for more options. Make sure that you have selected Issue to be created on the incoming e-mails in the EMAILS tab:

- The Support Service project is different compared to Implementation or Website Design project. The issues have to be managed with different stages than the tasks, that is, the task has the stages such as Ideas, Draft Design, In Progress, and more, while the issue has the stages such as New, Confirmed, In Progress, Waiting Cust. Feedback, and more.
Let's go to the Issues pipe and create the stages as New, Confirmed, In Progress, Waiting Cust. Feedback, Done, and Cancelled. After creating the stages, the issue pipe will look like this:

If you choose to manage the Issues within the same project where you manage the tasks, you may have difficulties as your task pipe and issue pipe stages are not the same. You cannot have two different stage pipes for issue and task within the same project.
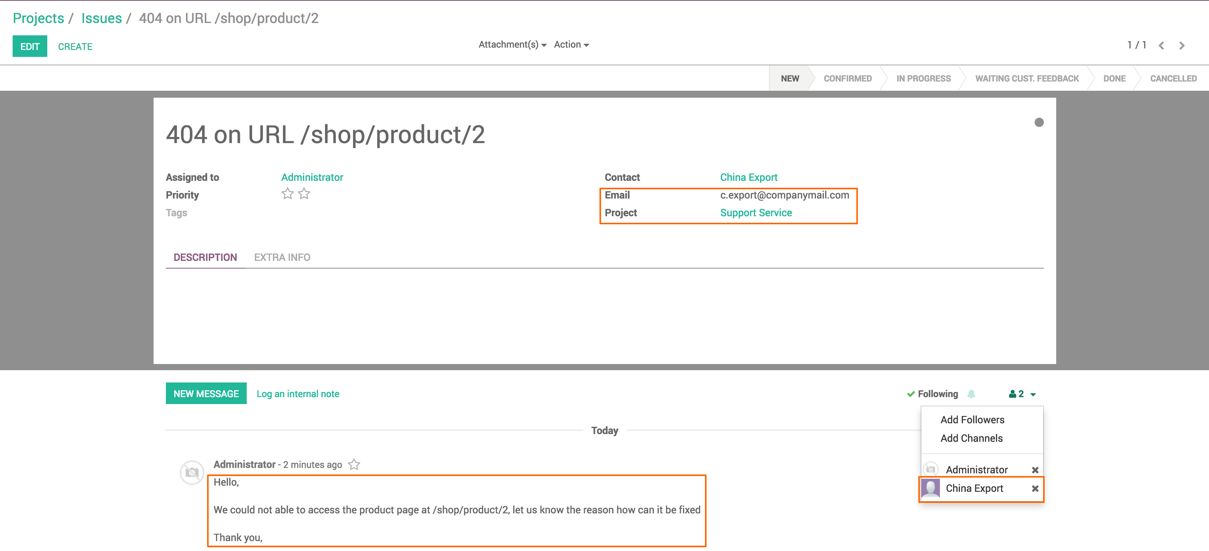
- Issues can be created either manually or via an e-mail, just like a task. In our case, if someone sends an e-mail to [email protected], the issue will be created in the Support Service project:

- The subject of the e-mail will become the Title of the Issue. Contact and e-mail will be selected automatically based on the incoming e-mail. The Contact is also added to the list of followers. The content of the e-mail body will be added to the chatter.
- Use chatter to communicate with the customer. It is a standard feature of the Odoo messaging system. The issue has to be routed through the issue pipe. As soon as the issue is verified, move it to the Confirmed stage and assign the responsible person on the same:

Depending on the stage of the issue, move it to the correct stage. It can be set to Done when it's completed, or you can move to Wait Cust. Feedback to get customer feedback before you mark it as Done.
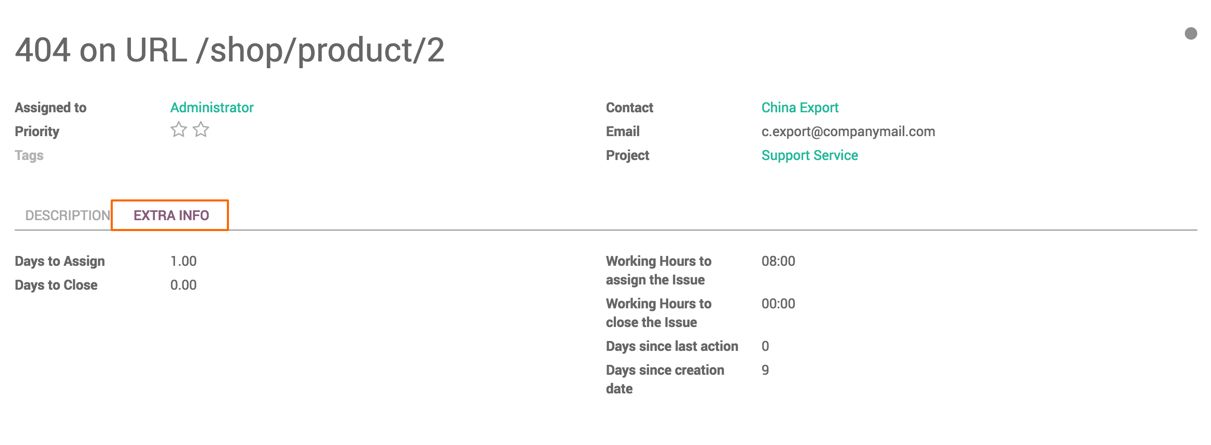
- Statistics will be computed for each issue depending on the action taken on the issue. The statistics will be generated based on the date and time on which the action has been taken:


