- Project is an independent yet integrated application just like other applications. It can be found under Apps. Go to Apps and search for the Project application. Click on INSTALL to install the application. It is assumed that Project is your first application you are going to install in the instance:

- Like many other applications, such as Sale, Purchase, Inventory, and Accounting, the Project application has its own dashboard. Click on the Project application, and you will be redirected to the Project dashboard. Look at the following screenshot of the dashboard:

- Let's create a new project and try to configure the project for internal use. Click on the CREATE button to create a new project on the Project dashboard. A popup will appear asking you the name of the project. Enter a suitable project name and click on the CREATE button:

As soon as you click on the CREATE button, the project will be created and will appear on the dashboard. Look at the project on the dashboard:

- Like Website Design, let's create one more project called Research and Development. For both the projects, the default label is Tasks. It would be great to have a label based on the project. For example, for Research and Development, the Tasks label seems relevant. Also for Website Design, the label Websites seems more relevant.
To change the label for the tasks, the option can be found on the Project under the more option. Click on More and get the Setting to open the project settings page. It will look like this:

You can see that the Task is enabled on the Project, and it is identified as Tasks. Change it to Websites and click on the SAVE button. After that, your dashboard will get updated, and on Website Design, you can see 0 Websites:

- Let's create some tasks to design the websites. Each task represents the design of one website and assigns the designer to work on it. Click on 0 Websites. You will be redirected to the project pipe where you have to define the standard flow (Stages) to manage the website designing process; the process starting from website design to customer delivery.
Follow the pink bubble. It will assist you in creating the stages. Click on the ADD NEW COLUMN column. This will allow you to enter a name/heading of a stage. As our first stage is "Idea," enter the string Idea and press the Enter key. The keyboard focus will go to the next column and ask you to create a new stage. Likewise, you can create all the stages. Look at the following screenshot. It will look like the following screenshot after creating all the stages:
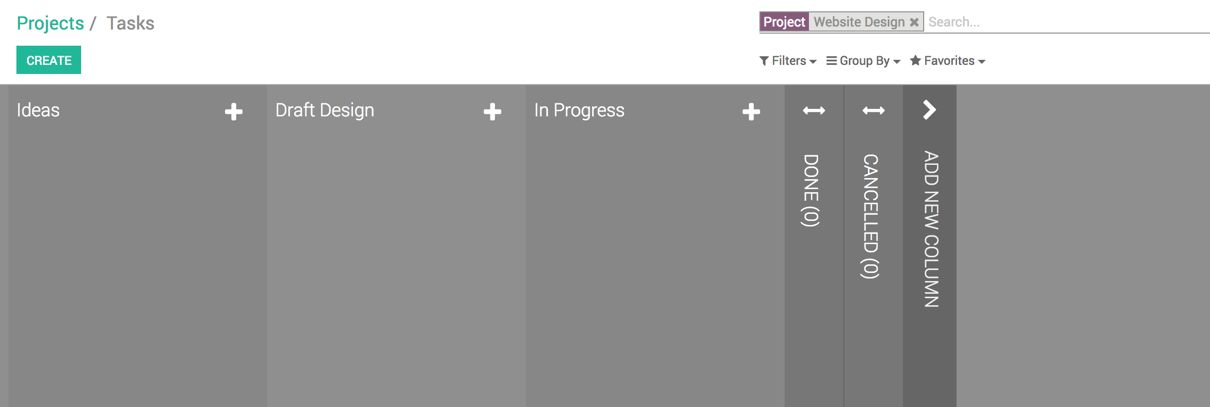
- A task can be created by clicking on the CREATE button or clicking on the + button available on the Idea column:
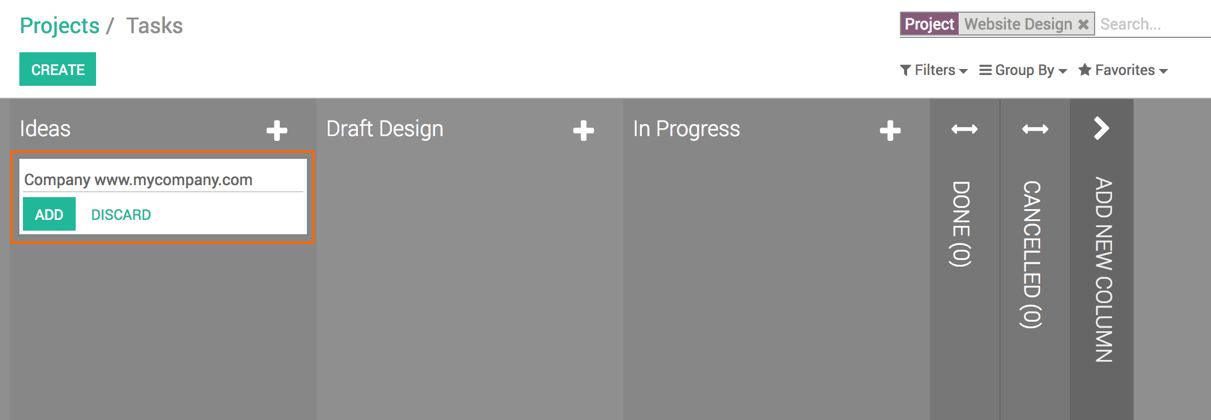
All the tasks have to be passed through the stages from Ideas to Done or Cancelled. However, the task can be created in any stage (Draft Design or In Progress stage). In the middle of the process, the task will follow the website design process for the next stage, that is, the task can be created in the Draft Design stage. It will follow the next stages (In Progress and Done).
- Click on the task to get the details of the task. By clicking on the task, you can enter the Form View of the task where you can see DESCRIPTION, Deadline of the Task Title, and Tags related to the task:
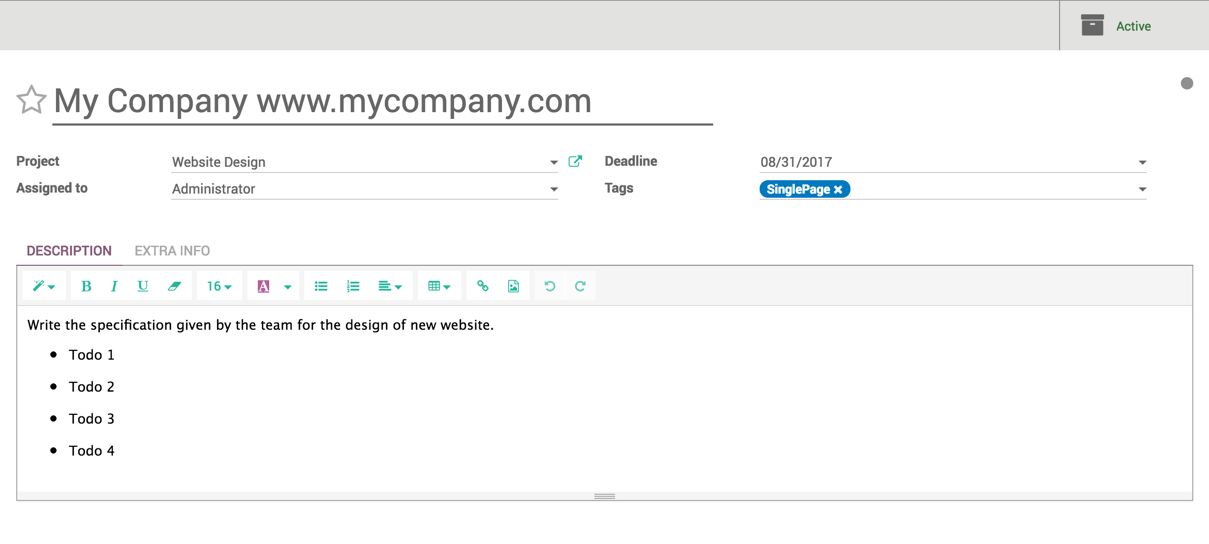
- As soon as the specification is ready for the idea, it can be marked as GREEN, and it is ready to move forward. We can also set the priority for the task:
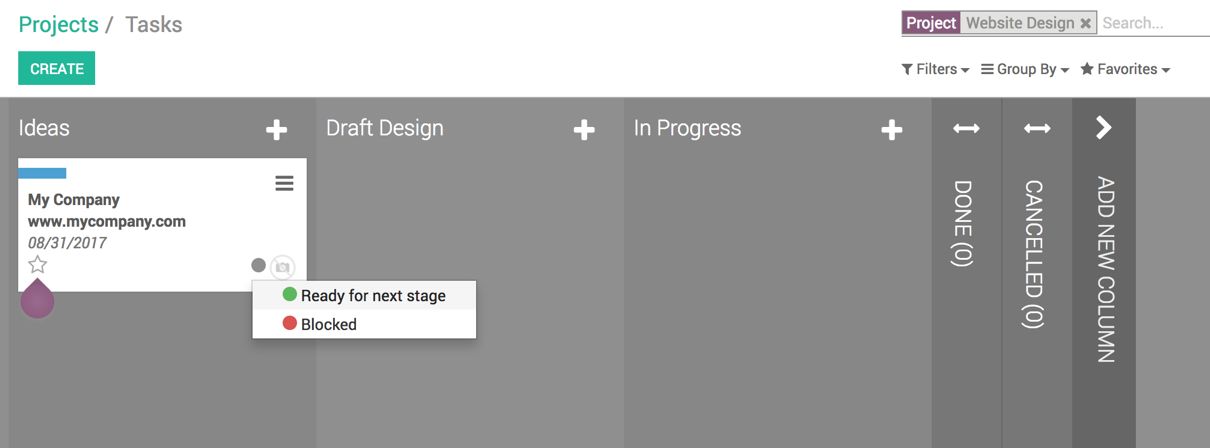
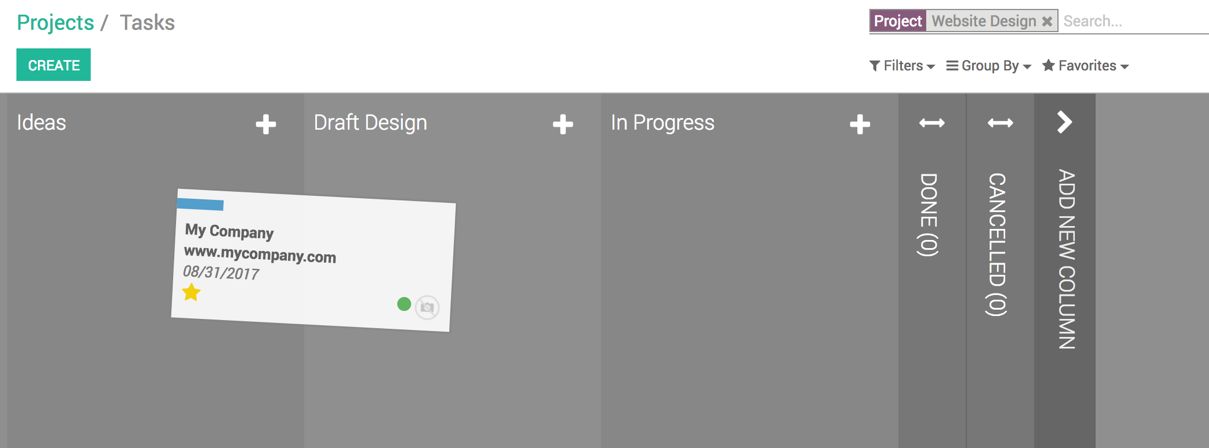
The deadline can be visible on each task. Once it is marked as green, it is a signal to the team to move this task forward. It can go to the Draft Design stage. Drag and drop the task My Company - www.mycompany.com to the Draft Design stage, where the designer will create the draft design for the website:
- Once the design is ready, it can be attached to the task by attaching an image of the website on the attachment of that task. Click on the task, open the Form View, and from the attachment menu, click on the Add... button visible at the top:

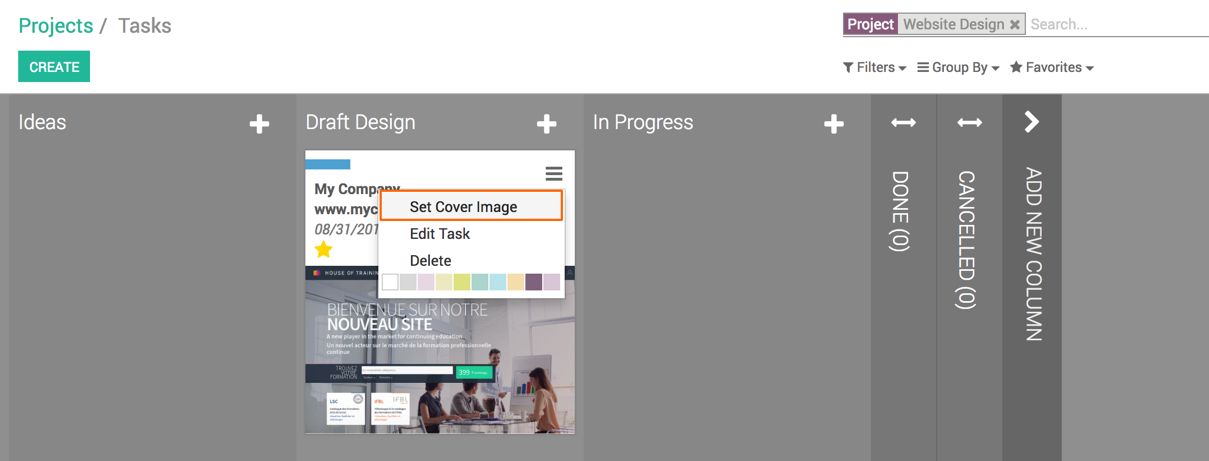
Go to the Kanban view, click on the options menu on the task, and then, click on the Set Cover Image option. A popup will appear asking you to select the cover image from the list of images attached to the task:

You can select the image or remove the image from the task. Look at this screenshot of the task having the image attached on it:
