- The Vendor bill can be created from Purchases | Vendor Bills under the Accounting application or click on the NEW BILL button available under the Vendor Bills section on Accounting dashboard.
- Select the Vendor, enter Bill Date. Due Date is the last day to pay the bill, and Vendor Reference can be a vendor's bill number:

Make sure that you have checked the Is a Vendor checkbox on the partner form; this can be the only reason why your desired vendor may not be available on Vendor Bills:

Select Is a Vendor check box and click on the SAVE button.
- The bill items have to be added manually in case the Purchase application is not installed. Let's create the bill lines manually, enter a product or just a description if you do not want to create consumable products. Just select the correct expense or capital account depending on the product bought; enter the quantity, amount, and tax if applicable:

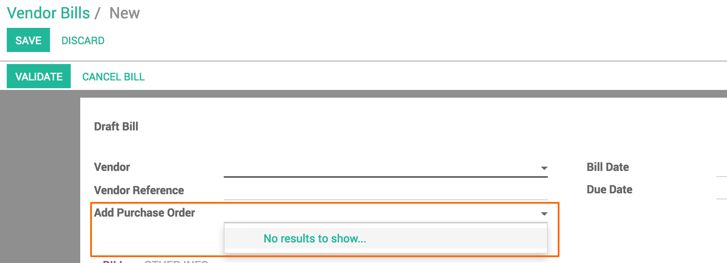
When the Purchase application is installed, you will get the field to select the purchase order to prepare the vendor bill automatically:

- Bill Date is the date on which the bill is prepared by the vendor--in our accounting, it may be reflected on the same date, or we can change the date if it is not a current month expense:

If you don't change Accounting Date on the OTHER INFO tab, by default, Bill Date will be applied as Accounting Date; if changed manually, the new date will be considered.
- Click on the VALIDATE button to validate the invoice. The payment can be registered either from Vendor Bill or Purchase | Payment from the Accounting application.
- Let's make the payment for Vendor Bill from Purchase | Payment under the Accounting application. Create a payment entry, select Payment Type to Send Money, Vendor as an Agrolait. The payment can be a bank, enter Payment Amount. Verify the payment transaction, and CONFIRM the payment. The payment entry looks as follows:

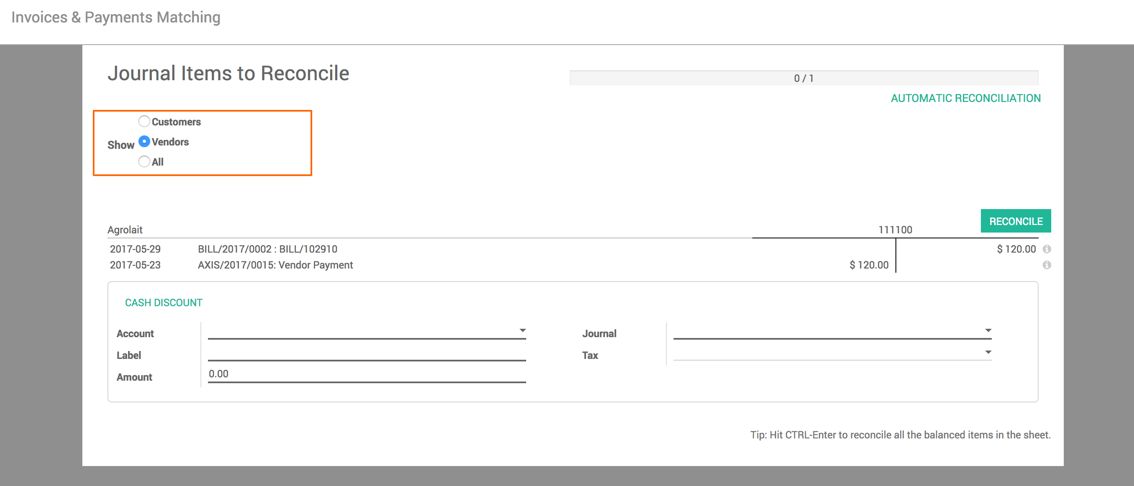
- As the payment is done using Purchase | Payment, it will not match with the vendor bill. Let's match the payment with the vendor bill entries from the Manual Payments & Invoices Matching menu available under the Advisor menu:

The filters can be applied to get only Customers payments or Vendor payments to match the payment entry with invoices or bills. Select All to see all the payment entries. Click on the RECONCILE button to match the payment entries with the vendor bill. Look at the bill after matching the payment. It should go to the paid state.
- Create a bank statement, create a vendor bill payment entry--make sure that the payment amount is entered with the negative sign, click on RECONCILE, and the rest of the process remains the same:


