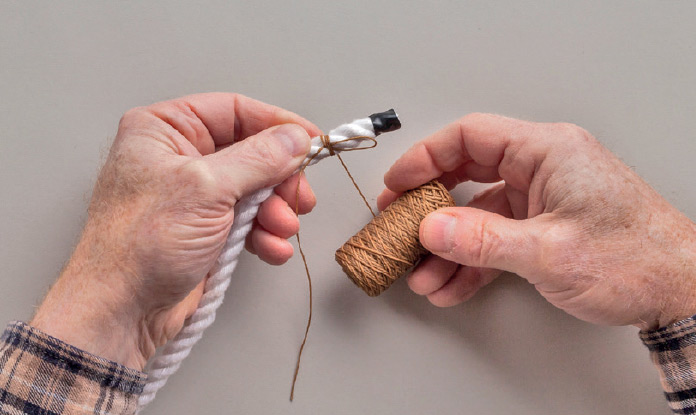
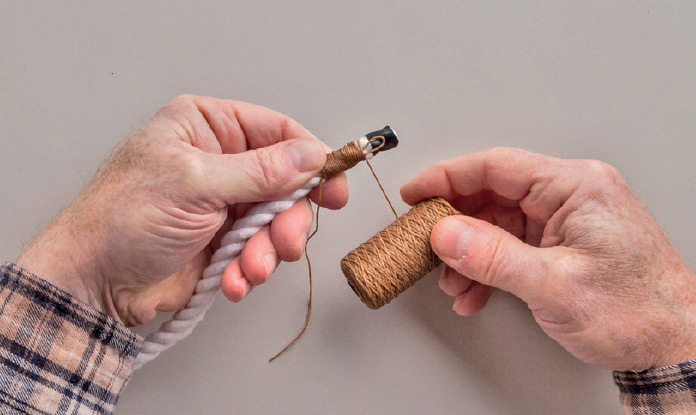
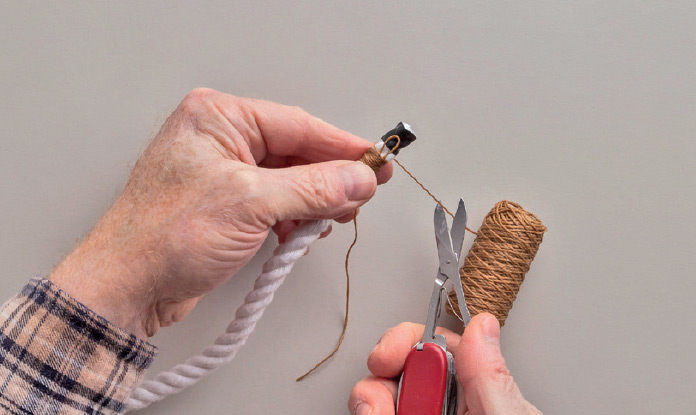
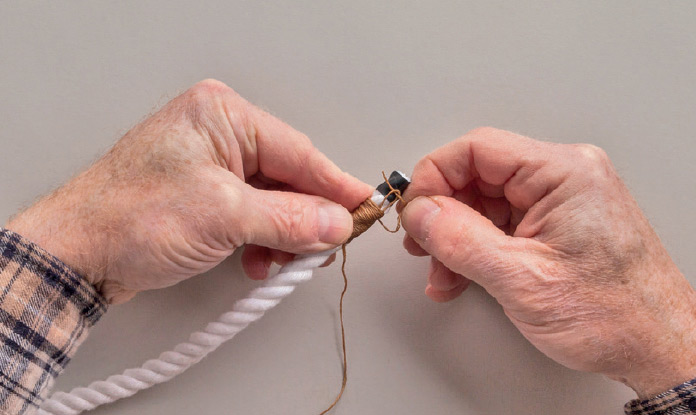
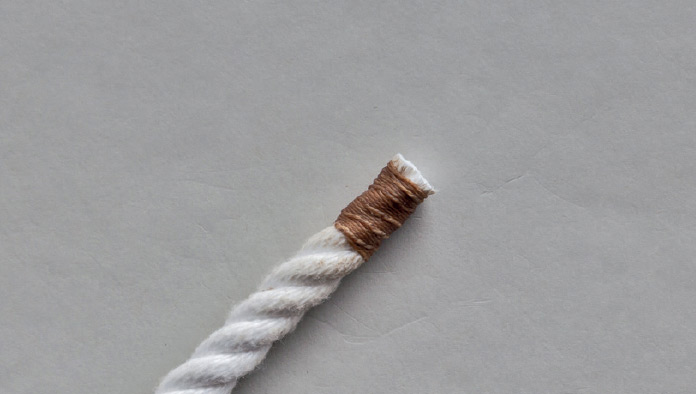
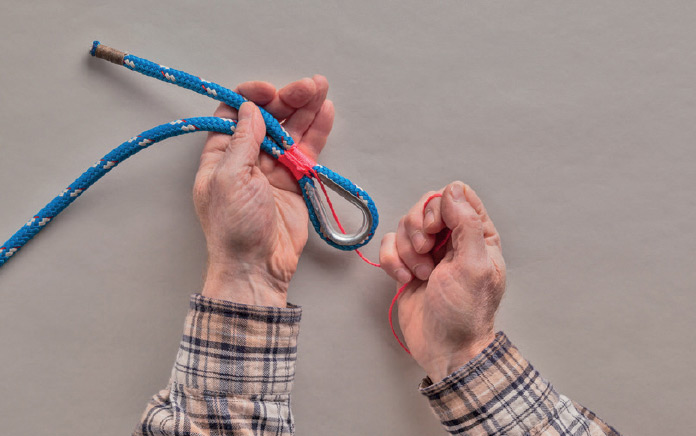
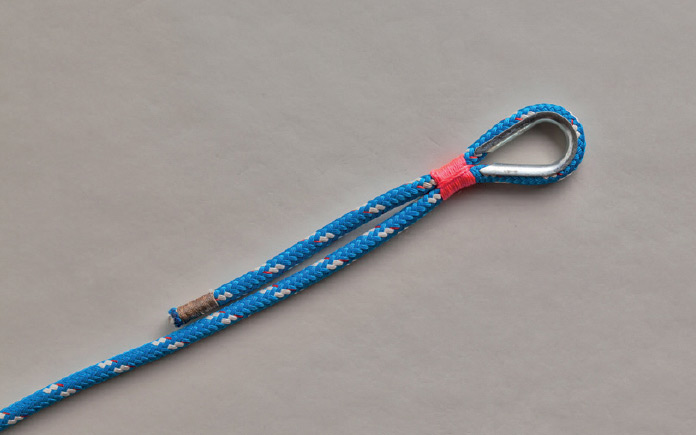
There are many ways to prevent the end of a rope from unraveling (see ), but whipping is by far the most effective. Whipping involves binding the rope’s strands or yarns with a tight wrapping of heavy thread or light twine. This seemingly imposing task is actually quite easy, and after doing it once or twice, you’ll find it second nature. Seizing is a similar procedure to permanently join two lengths of rope or sections of the same rope. A seized eye in the end of a rope is stronger, more secure, and more compact than any loop knot.
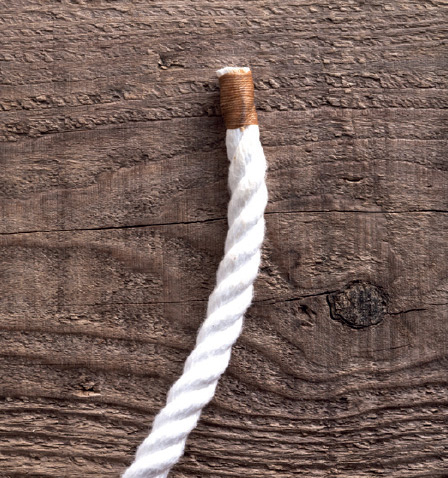
Uses: prevent fraying; mark positions on rope
Pros: easy, quick, and effective
Cons: whipping will unravel if the thread breaks
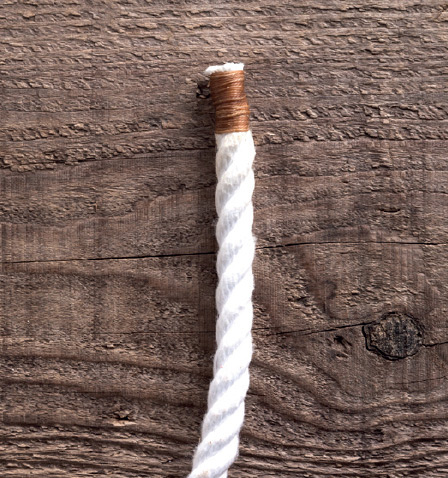
Uses: prevent fraying; mark positions on rope; as service to prevent abrasion
Pros: resists unraveling if cut
Cons: more time-consuming than Common Whipping
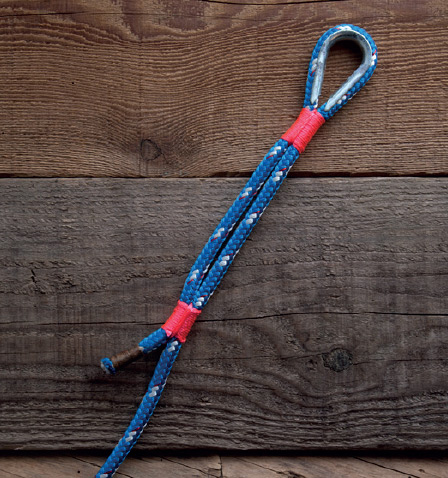
Uses: eyes; joining ropes for length or doubling; fastening rope to a shaft
Pros: stronger, more secure, uses less rope, and less bulky than knots
Cons: more difficult and time-consuming than knots; cannot be untied
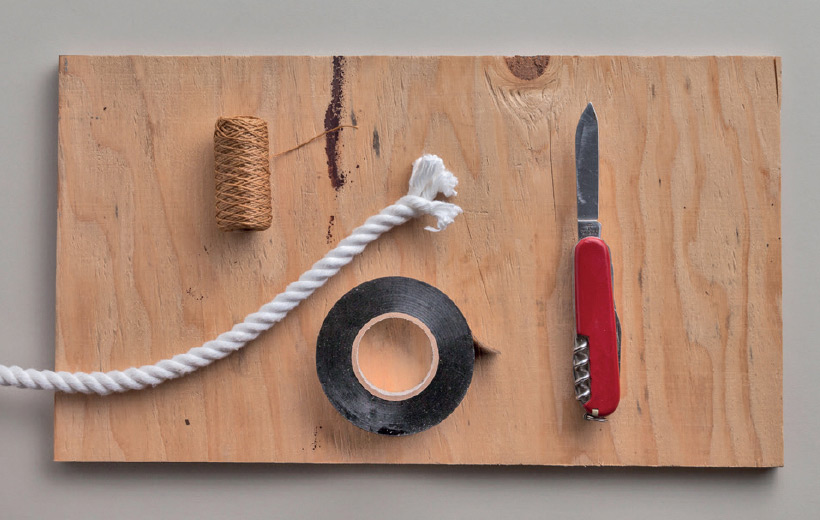
Tape works better than cordage for temporarily holding the strands together while you whip the end. It’s easier to wrap the whipping right up to the edge of the tape. Masking or painter’s tape will work in a pinch, but neither can be stretched tight like plastic electrician’s tape.
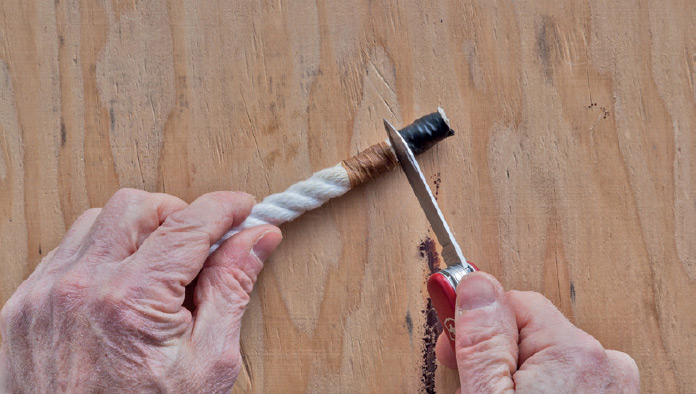
You’ll want something to cut the whipped end against. A scrap of plywood or dimensional lumber will do the job.
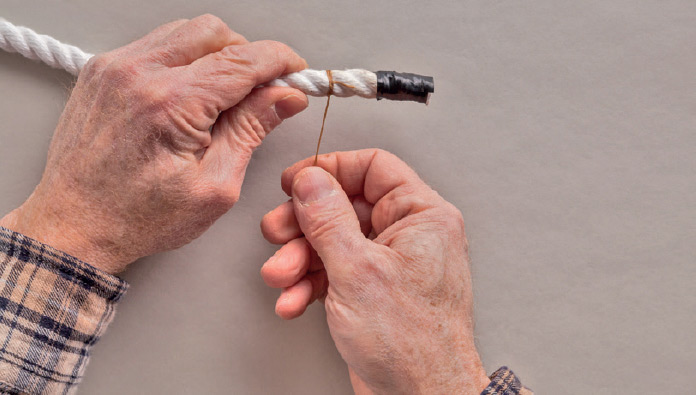
4. Take a round turn around the rope and the bight, laying it right against the Single Hitch. Take a second round turn, laying it against the first, working toward the end of the rope. Holding the spool, pull the thread really tight.
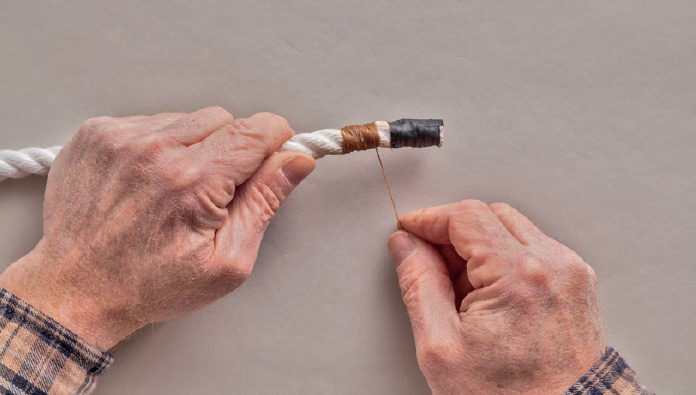
5. Continue making round turns, pulling the thread tight and laying each one right against the previous turn. Stop when the wraps cover a length of rope that is between one and two times its diameter. The end of the bight should still be visible, and there should be enough rope exposed between the wraps and the tape to cut through safely.
6. Holding the wraps tight against the rope, cut the thread from the spool, leaving an end longer than the whipping.
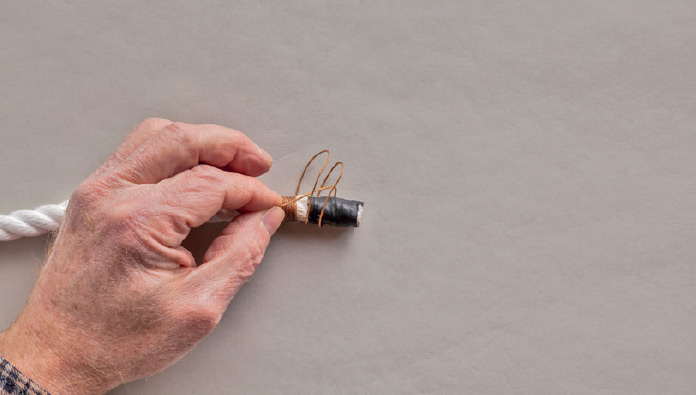
7. Pass the newly cut end all the way through the bight.
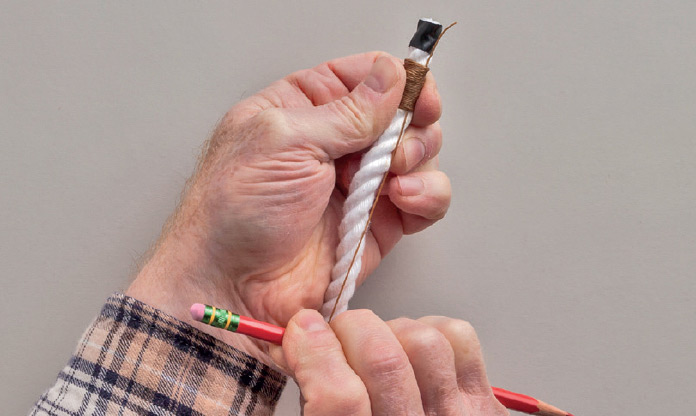
8. Tie a around a spike in the working end of the bight at the bottom of the whipping. Pull on that end, to bring the eye of the bight under the wraps. It will pull the opposite end of the thread along with it. Stop pulling when the bight is well buried under the wraps. Trim the ends at the top and bottom of the whipping.
9. Cut the rope between the whipping and the tape.
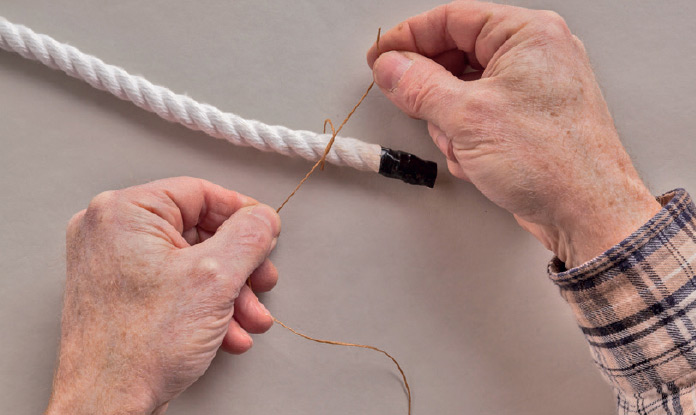
1. Allowing one to two times the rope’s diameter for the whipping, tie a around the rope with both ends of the whipping thread facing the rope’s end. If you are whipping laid rope, the long working end of the thread should face the same direction as the twist toward the end.
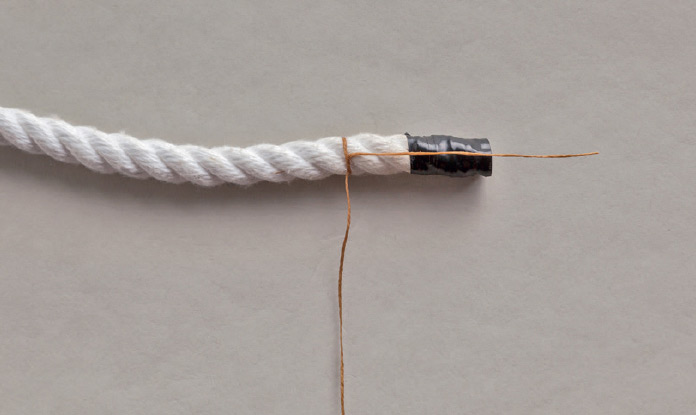
2. Align the short standing part of the thread toward the rope’s end.
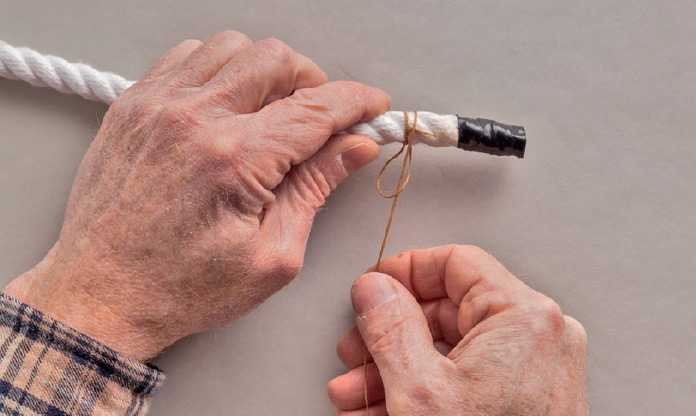
3. Tie a Half Hitch in the working end of the thread adjacent to the Half Knot, capturing the short end against the rope.
4. Pull the first Half Hitch tight up against the Half Knot. Trim the short end of the thread so that it is a little shorter than the intended length of the whipping.
5. Continue tying Half Hitches, pulling each one very tight right up against the previous one and continuing to bury the thread’s short end against the rope.
6. When the wraps cover a length of rope at least equal to its diameter (1.5 times the diameter is better), tie a doubled Half Hitch by making two wraps around the rope before passing the end through both. Pull the knot tight. Make a second doubled Half Hitch and pull it tight.
7. Trim the long end of the thread, trim the short end if any remains exposed, then cut the rope between the whipping and the tape.
8. The stacked Half Hitches confer a spiral pattern to the finished French Whipping.
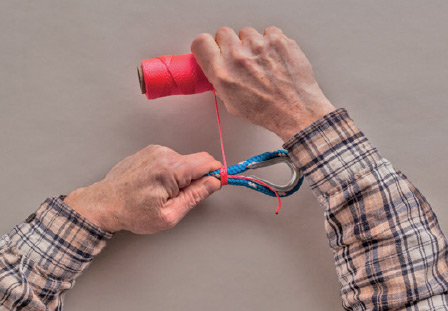
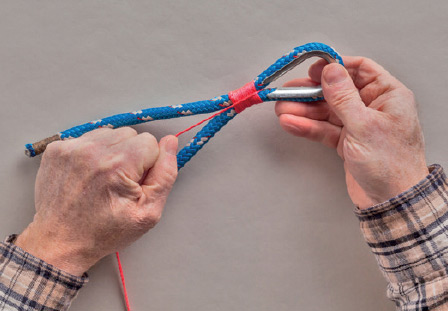
2. Align the short end of the twine between the legs of the bight. Using the spool to pull the twine, begin wrapping round turns around both legs of the rope and the short end of the twine.
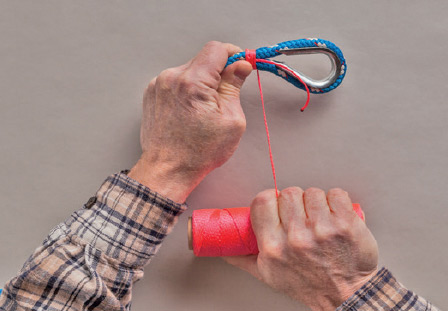
3. Place each round turn right up against the previous one, and pull each one as tight as possible.
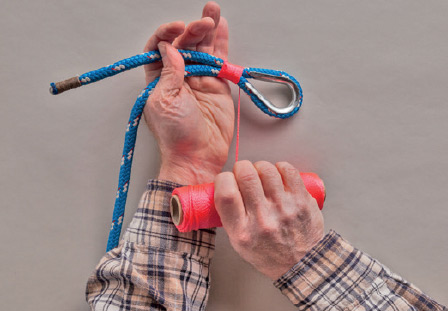
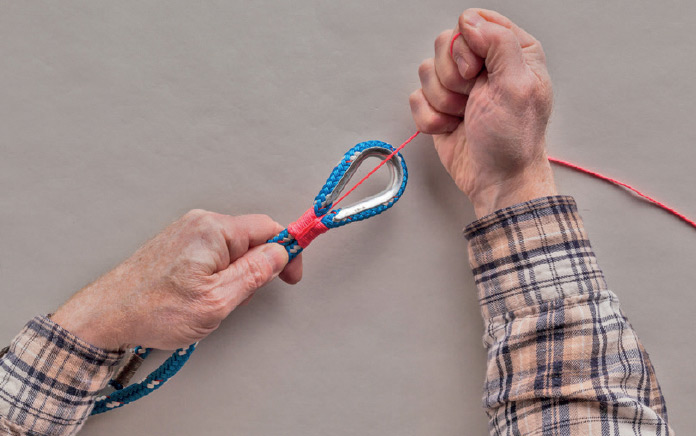
4. Trim the short end of the twine so that it will be completely covered by the seizing. Keep wrapping until the seizing is twice as long as the rope’s diameter.
5. Make a final turn through one leg of the bight, then pull the twine down over the wrappings.
6. Bring the end between the legs of the bight and pull it up tight on the other side. Pull the end through the eye, completing the first frapping turn. Then go around again to make another frapping turn.
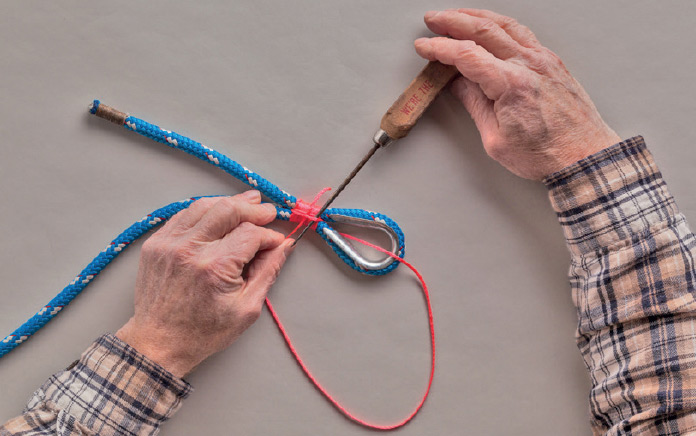
7. Bring the twine through the eye to complete the second frapping turn. Pass the end under the first frapping turn. A pointed tool can be used to lift this tight frapping turn slightly so that the end can be passed through.
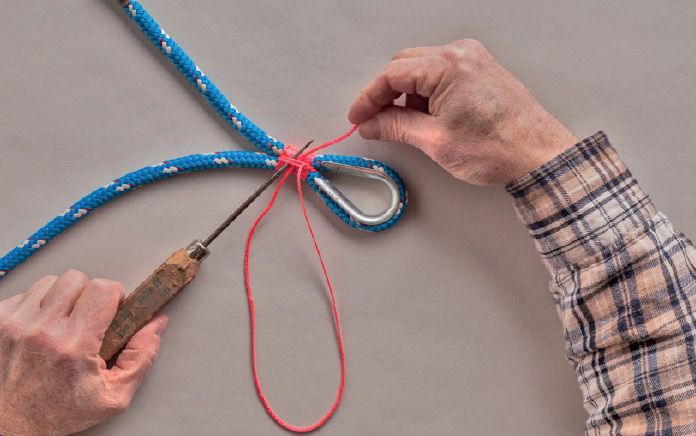
8 Complete a round turn around the first frapping turn, then pass the twine under both frapping turns.
9. Bring the end of the twine through the eye and pull it tight to bring the final knot between the legs of the bight at the base of the eye. Trim the end close.
10. The finished seizing. A second seizing should be added to secure the bitter end to the standing part as shown below.